
Introduction
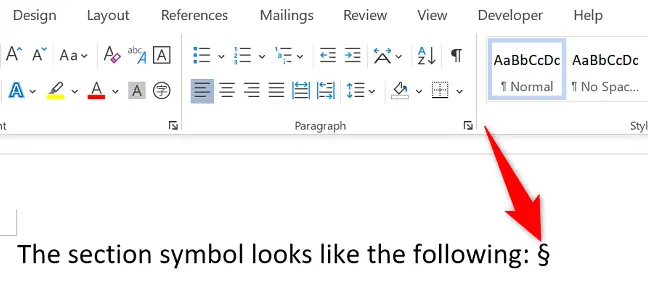
If you’re working on a legal document and need to include the section sign (), Microsoft Word provides many options as well as a customizable shortcut key. We’ll teach you how to easily add this symbol to your documents.
Using the Numeric Keypad, enter the Section Symbol ().
Use a simple keyboard shortcut to add the section symbol to your document if your keyboard has a numeric pad (number keys to the right of your other keys).
To use this approach, first set the cursor where you wish to add the symbol in your document.
Hold down the Alt key on your keyboard and use the number pad to enter 0167. When you let off of the Alt key, a section sign () will display where your cursor was.
You’re finished.
Using Word’s “Insert” Menu, enter the Section Symbol ().
If your keyboard lacks a number pad, put the section sign into your document using Word’s “Insert” option. This is the same option where you may add a variety of additional symbols.
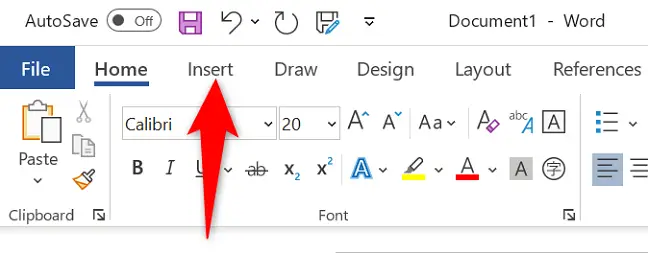
To use it, first position your cursor where you want the symbol to appear in your page. Then, at the top of Word’s ribbon, choose the “Insert” option.
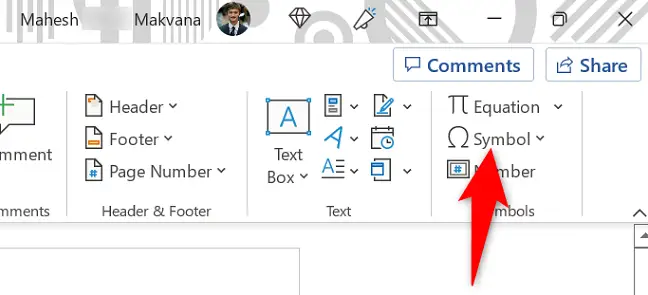
Select “Symbol” from the “Symbols” section on the “Insert” menu.
Click “More Symbols” in the enlarged “Symbol” menu.

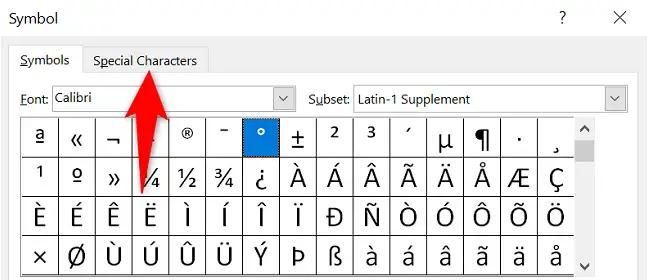
A “Symbol” window will appear. Click the “Special Characters” tab here.
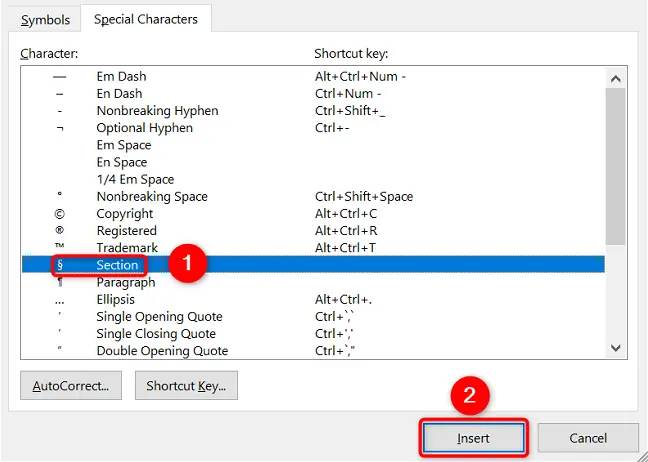
Find and click the section sign () under “Special Characters.” Then, at the bottom, choose “Insert.”
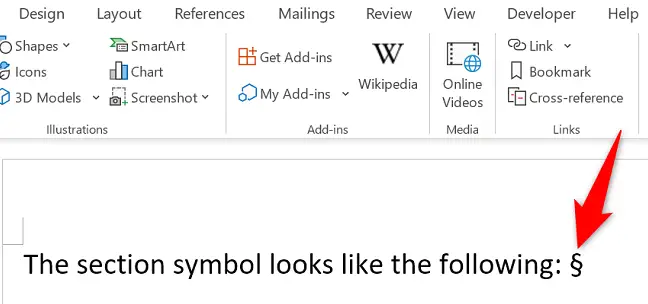
A section symbol () has been added to your document successfully.
And that’s the end of it.
Make a Custom Keyboard Shortcut for the Section Symbol ()
To insert the section sign more quickly, build a keyboard shortcut that inserts it whenever the given keys are pressed. This is quite beneficial if you often need to put the section sign in your papers.
To begin, open Word and go to the “Insert” tab to create the shortcut. Then, go to Symbol > More Symbols.
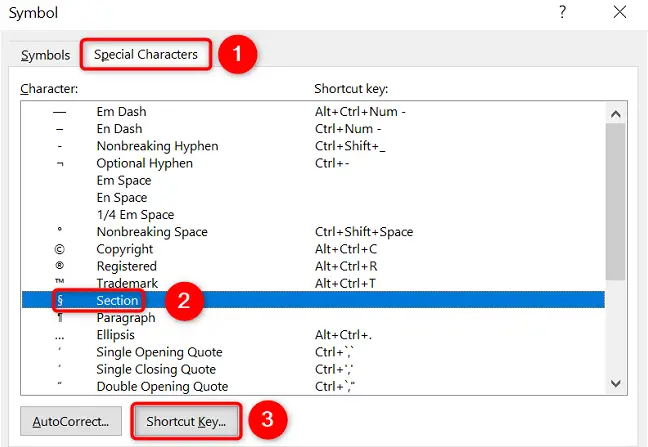
Click the “Special Characters” tab in the “Symbol” box. Then choose “Shortcut Key” from the “Section” menu.
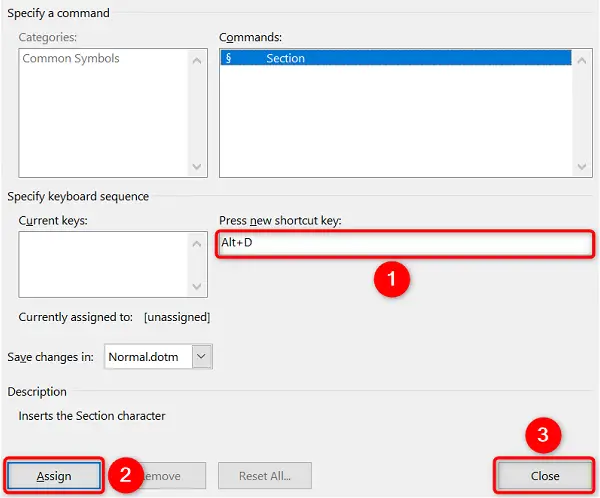
Click the “Press New Shortcut Key” box in the next window. Then enter the shortcut key you want to use for the section symbol. In this example, we’ll press Alt+D.
When you’re finished, click “Assign” in the bottom-left corner of the window, followed by “Close.”
Your shortcut key has now been enabled. Word will now append the section sign () at your current cursor point whenever you hit the shortcut you set. Have fun writing!