Key Takeaway
With the Google Drive and Microsoft Lens applications, you can capture images of documents and transform them into PDF format. It’s as easy as taking a picture of a document on your Android phone, adjusting the edges, and saving it as a PDF file.
In the past, owning a scanner was common among many people, however, times have changed. Nowadays, all you require is a phone equipped with a camera. We will demonstrate how to achieve this using any Android phone.
How to Use Google Drive to Scan Documents on Android
Open Google Drive on your Android smartphone, hit the floating + icon, choose “Scan,” and photograph the document. Google Drive will automatically flatten and convert the photographs to black and white.
To begin, launch Google Drive on your Android smartphone and ensure that you are signed in with your Google account. In the lower right corner, tap the floating “+” button.
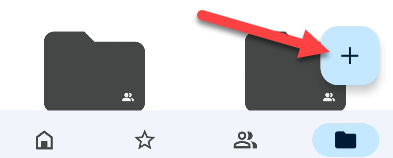
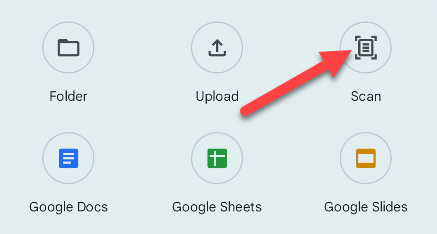
There will be a menu with some alternatives. Choose “Scan.”
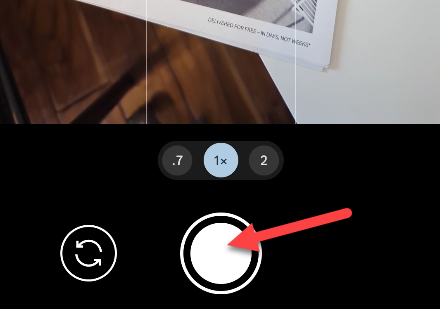
The camera will launch right away—you may need to allow the app permission to use your camera initially. Position the document such that it fills the whole frame, then take the shot.
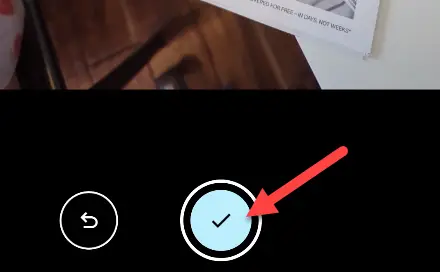
The following page will request confirmation that you wish to use the photo. If everything seems fine, click the checkmark button.
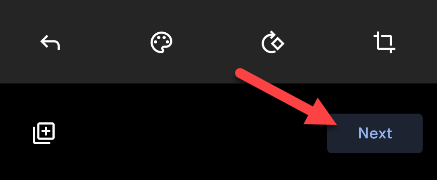
Google Drive will attempt to trim and adjust the lighting automatically. If it need assistance, you may manually alter it using the crop and color buttons. Tap the Add Page button to add another page to the document. To proceed, use the “Next” button.
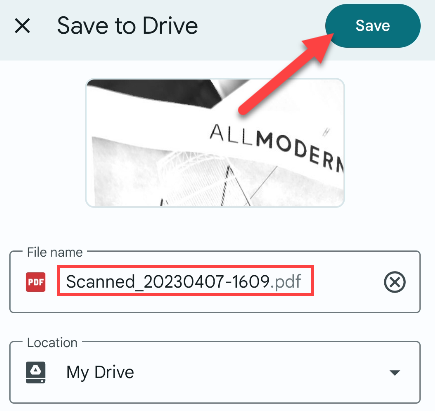
You can now give the file a name and choose where to save it. The file will be saved as a PDF in the specified folder.
It’s as simple as that!Google Drive is remarkably adept at recognizing documents and altering them to appear scanned by a genuine scanner.
How to Use Microsoft Lens to Scan a Document on Android
Point the camera at a document in the Microsoft Lens app, then hit the shutter button and adjust the image’s corners to fit the page. This is how it works.
To begin, open Microsoft Lens on your Android device and make sure the “Document” option in the bottom bar is selected.

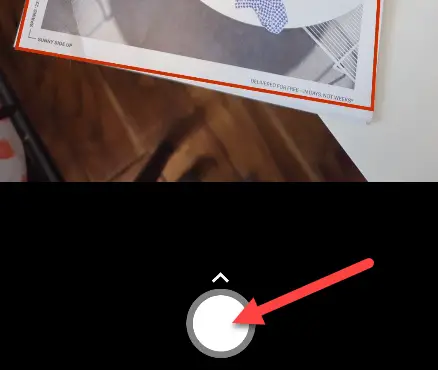
To take a snapshot, point the camera at the document and press the shutter button. Lens may identify the outline of the paper automatically.
Then, in the following screen, use the handles to outline the document, then press “Confirm” to continue.
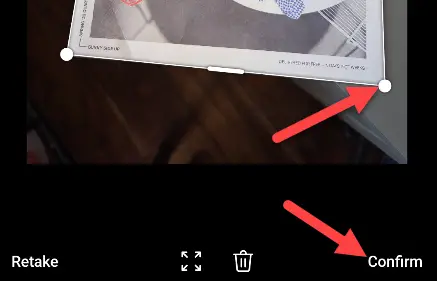
You now have a few more options at your disposal. You may upload another photo, use filters, cut, rotate, and many other things. When you’re finished, press the “Done” button.

Finally, you may change the document’s name, pick where to store it, and click “Save.”
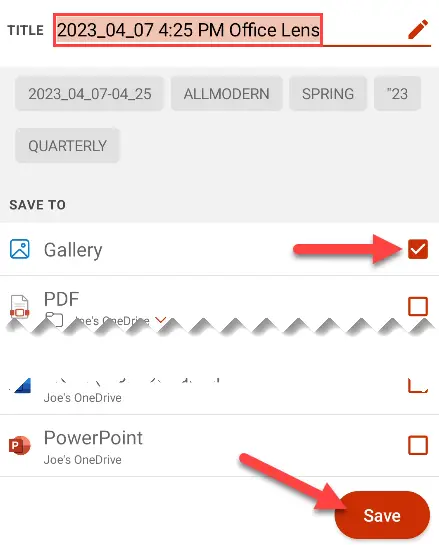
If you scan documents with your phone frequently, Microsoft Lens is a useful software. Because that’s all it does, you won’t have to comb through any extraneous features.
How to Scan Documents on the Samsung Galaxy
You can scan papers with a Samsung Galaxy mobile by aiming the camera at the document and hitting the “Scan” button when it is recognized. It’s one of several excellent Samsung camera features. However, the image is not saved as a PDF file.
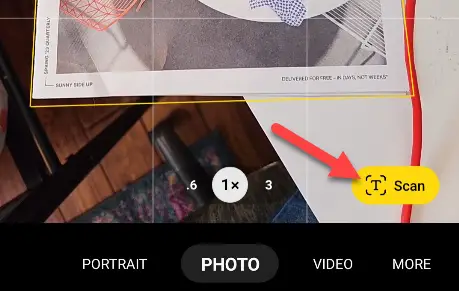
On a Samsung Galaxy phone, launch the default camera app and point it at a document. Make sure the full paper is in frame. When the document is discovered, it will be highlighted, and a “Scan” button will appear in the bottom right corner- press it.
Following that, you’ll be able to alter the document’s corners. When you’re finished, press the “Save” button.
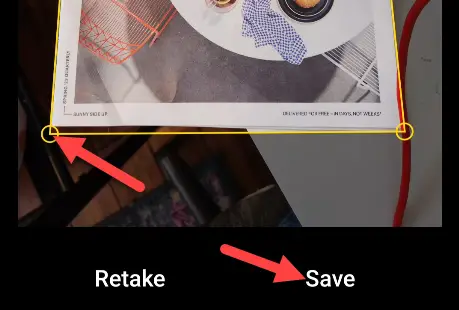
The photograph will be saved among your other photos in the camera roll. If you like, you may convert the image to a PDF.

