
Key Takeaway
Download and install the free 7-Zip application, then restart your computer, to password-protect your text file in Windows. Find your text file and use the right mouse click to choose 7-Zip > Add to Archive. In the “Enter Password” and “Reenter Password” areas, type your password. Next, click “OK.”
It’s a smart idea to password-protect any text files that contain private information. Although text files cannot be password-protected natively on Windows, you may still do it by using the free and open-source program 7-Zip. This is how it goes.
By using 7-Zip, you may add any type of text file, including TXT, LOG, RTF, and DOCX, to a compressed ZIP package. Then you lock your compressed text file by password-protecting this ZIP file. Later, you may see your text file and disable the password protection using any archive viewer (such as 7-Zip, WinRAR, WinZIP, etc.).
Create a password for your text file.
Open the 7-Zip website in your favorite web browser on your Windows computer to begin securing your text file. Install this free utility on your computer, then restart it.
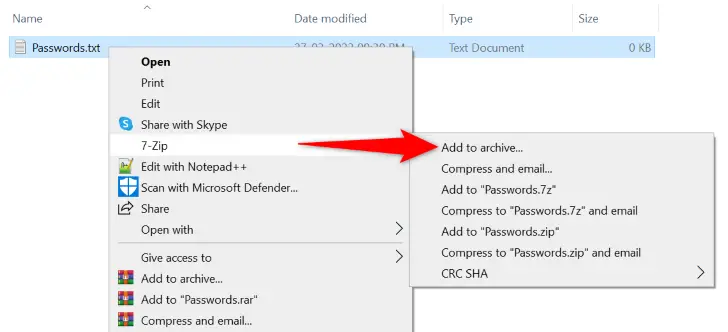
Launch File Explorer after your PC has restarted, then locate the text file you wish to lock. Select 7-Zip > Add to Archive from the menu that appears when you right-click this file.
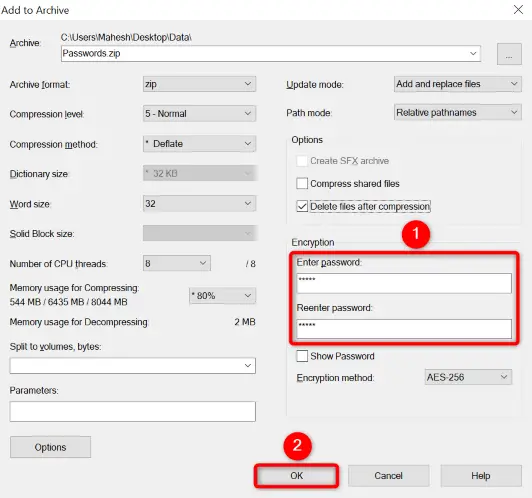
An “Add to Archive” window will appear. Click the “Enter Password” option here in the “Encryption” section and enter the password you wish to use to secure your file. In the “Reenter Password” section, type the same password again.
Tip: Learn how to pick a strong password and remember it if you want to make sure your ZIP file is safe.
When finished, click “OK” at the bottom of the window.
The same folder as your text file has a password-protected ZIP archive that was produced by 7-Zip. Your text file is now secured inside of this archive and can only be accessed by providing the right password.
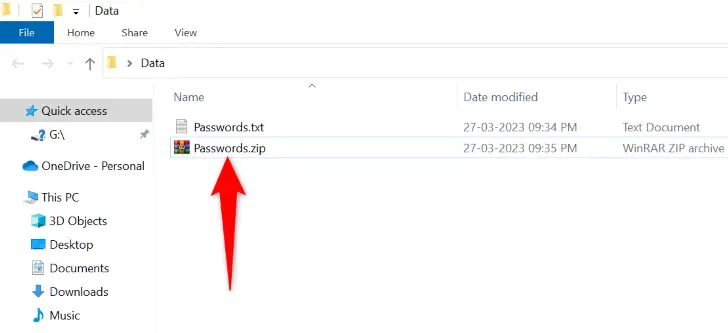
Keep in mind that the same folder still contains your original text file. To prevent access by other people, you should remove it. To accomplish this, right-click the file while holding down the Shift key, then select “Delete” from the menu. Your text file will be permanently removed from your computer.
How to View a Text File That Is Password Protected
Simply use any archive opening program to unlock your password-protected ZIP archive to gain access to your restricted text content. Every program operates the same manner, asking you to enter your password before allowing you to access your text file.
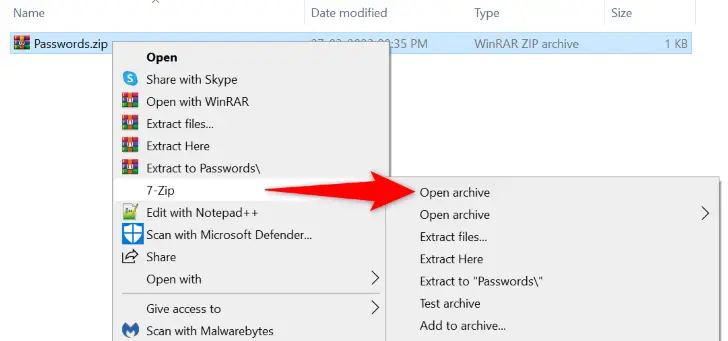
Find your archive in File Explorer and open it using 7-Zip. Select 7-Zip > Open Archive from the menu that appears when you right-click the archive.
Please take note that you may double-click your archive to open it with 7-Zip if that program is specified as your default archive viewer.
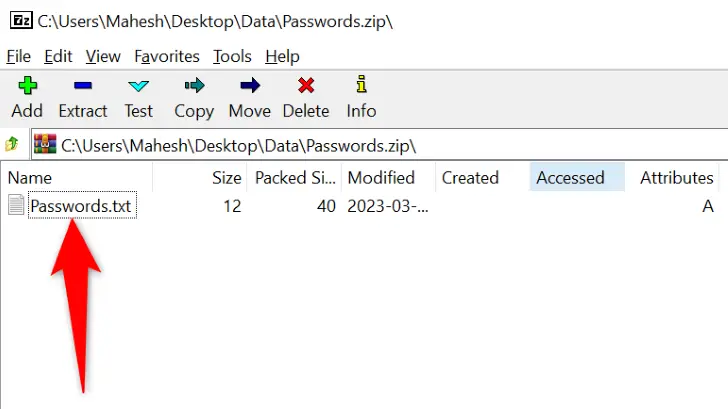
Your text file will be shown in the 7-Zip window. To open the file, double-click it.
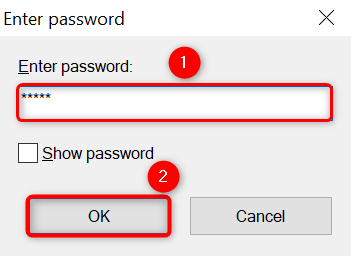
You’ll be prompted by the app to enter your password. Enter your password in the “Enter Password” area, then hit Enter or choose “OK.”
Your text file will open in 7-Zip if your password was entered correctly. That’s all there is.
How to Unprotect Your Text File From Password Protection
Bring your text file out of the protected ZIP archive in the future if you want to remove the password from it.
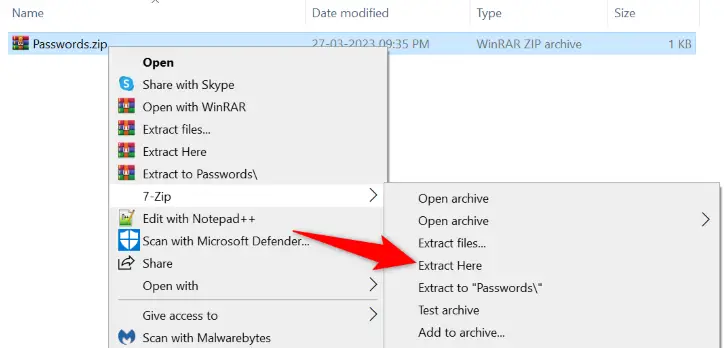
Right-click your archive and select 7-Zip > Extract Here to accomplish it.
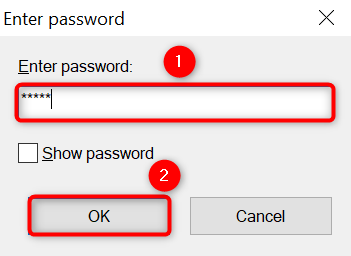
In the “Enter Password” section, enter your password before pressing the Enter key or selecting “OK.”
Your text file will be extracted by 7-Zip in the same location as the archive file. If you no longer require the archive, you can remove it now.
And in doing so, you may swiftly and simply secure the information in your Windows computer’s text files. Be careful!
