
Introduction
Your iPhone automatically determines the right time zone based on your location, but you may change it manually by inputting the name of your city. Here’s how to go about it.
How to Manually Set the Time Zone on an iPhone
To manually set a time zone on your iPhone, first turn off the automated date and time feature.
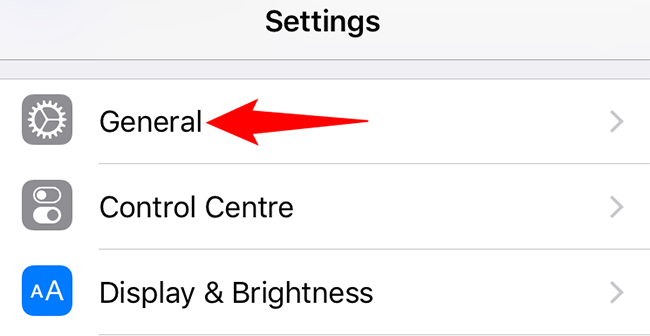
To begin, open the Settings app on your phone. Tap “General” in the Settings menu.
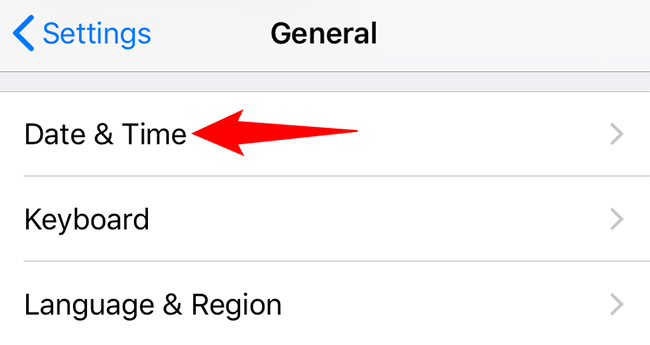
Tap “Date & Time” on the “General” screen.
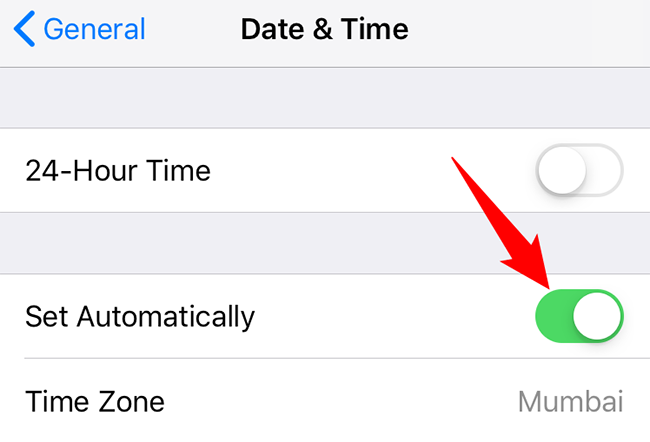
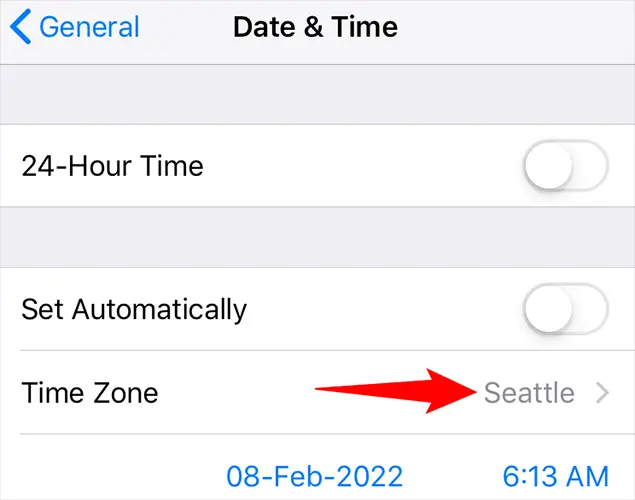
Turn off the “Set Automatically” option when the “Date & Time” page appears.
If “Set Automatically” is grayed out, see the last part of this tutorial to understand what to do.
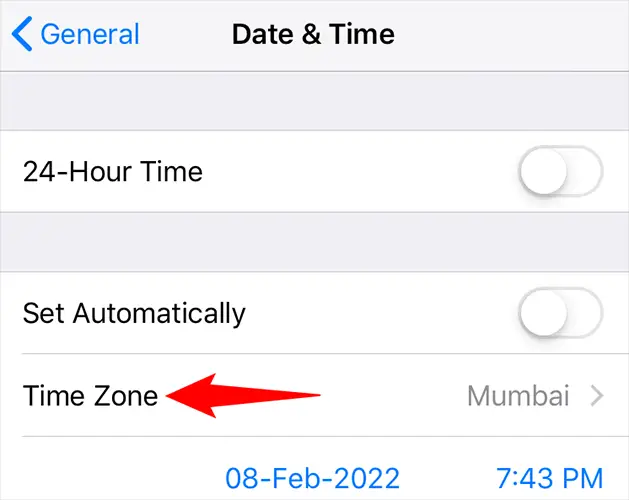
Now that the automatic option has been deactivated, choose a new time zone by selecting the “Time Zone” button.
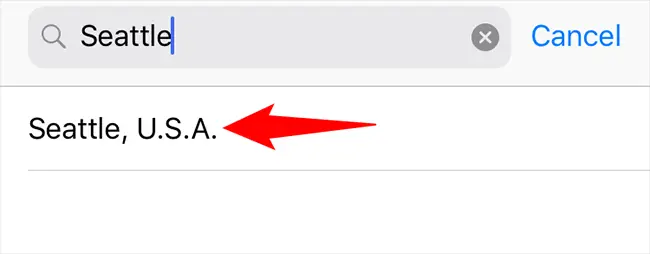
Fill up the text box at the top of the “Time Zone” page with the name of your city. The date and time for that city will be used by your iPhone.
Tap your city when it appears in the list.
You’ll be returned to the “Date & Time” page, and your iPhone will now use the time and date for the city you choose (time zone).
That’s all there is to setting the time zone on an iPhone manually. Enjoy!
Why can’t I uncheck the “Set Automatically” box
If “Set Automatically” is grayed out and you can’t toggle it off, you’ll need to disable Screen Time on your iPhone first. Screen Time stops users from manually adjusting the time and date.
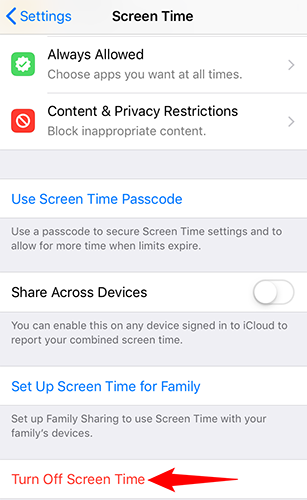
To turn off Screen Time, go to Settings on your iPhone and choose “Screen Time.”

Tap “Turn Off Screen Time” at the bottom of the “Screen Time” page.
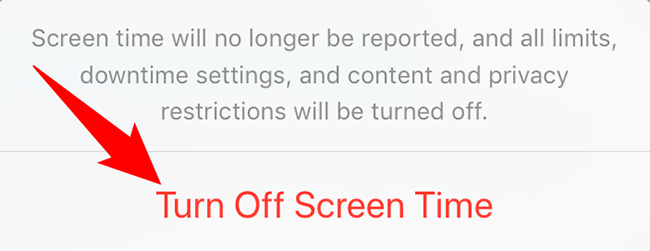
To remove the function, press “Turn Off Screen Time” in the popup.
Now that the function has been deactivated, you may manually establish a time zone on your iPhone by following the procedures in the first section above.
