
Introduction
In many cases, we need to Resize existing images to a specified size while maintaining the aspect ratio of the image (i.e. the image cannot be freely stretched and deformed), which can be done in Photoshop in two simple steps. First, you need to determine whether to crop the width or height of the source image, then scale the image in equal proportion, and finally crop off the excess width or height.
Video Tutorial
Methods
Keep the aspect ratio to modify the size of the source image.
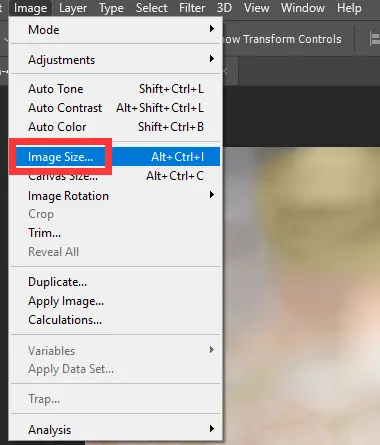
Open the image you need to edit, select the “Image Size” button in the “Image” tab in the upper toolbar, or use the shortcut “Alt+Ctrl+I” to open the “Image Size” setting window.
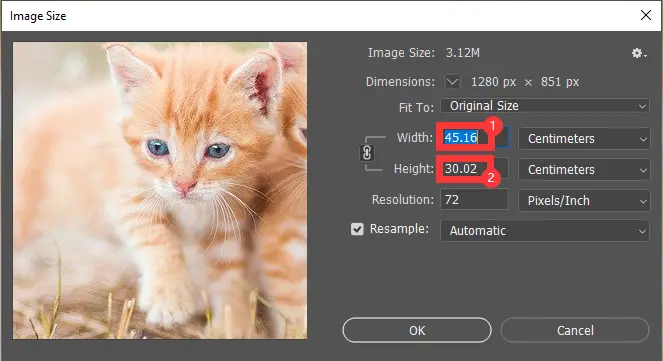
In the “Image Size” window you can see the width and height values of the current image.
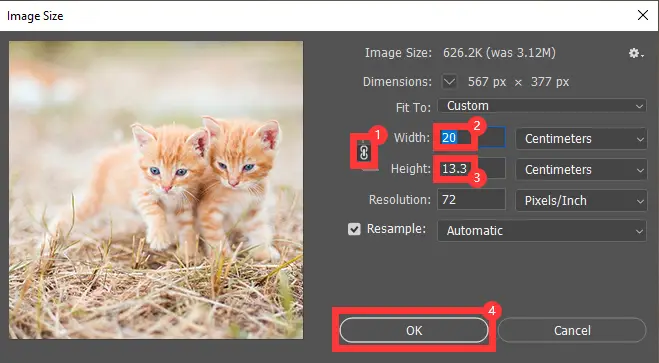
While ensuring that the “Keep Aspect Ratio” button is on, i.e. the button identified in step 1 above, modify the width to “20”, and the height will be generated naturally according to the aspect ratio.
Crop the excess width or height.
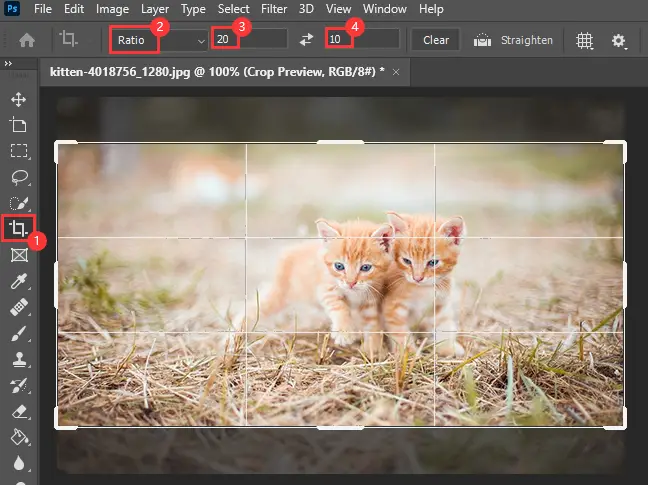
Find and click the Crop button in the left toolbar, then we can see the editable checkbox around the source image, which can be adjusted by the eight control icons on the checkbox for width or height. However, to accurately output the picture with the specified width and height, we select “Scale” in the upper window, and then set the height and width to the specified values respectively: width “20”; height “10 “.
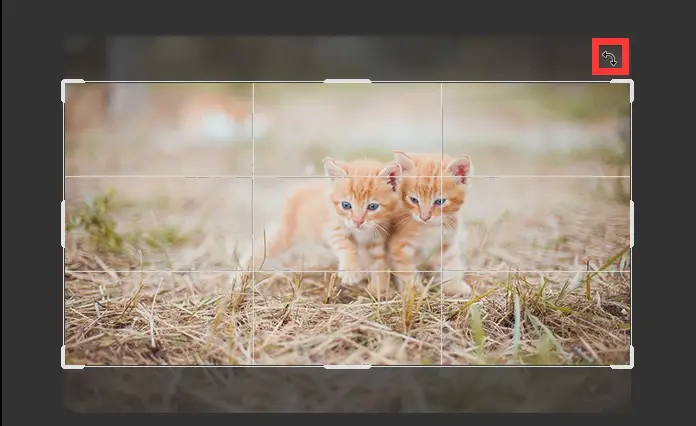
After adjusting the size of the crop area, place the mouse within the content of the source image outside the crop area when the mouse pointer changes to an arc with two-way arrows, as shown above, you can rotate the source image.
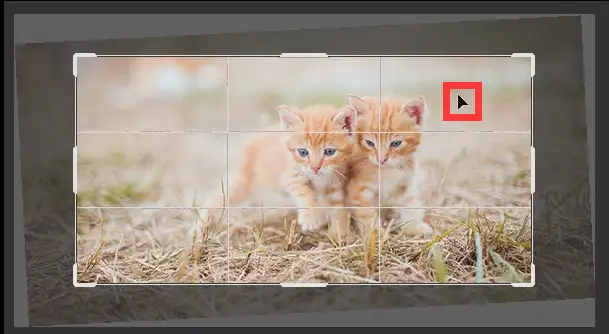
When the mouse selects the crop area inside the source image can be shifted by dragging and dropping, when the position of the crop box is adjusted click the Enter key to complete the operation.
Export the cropped image.
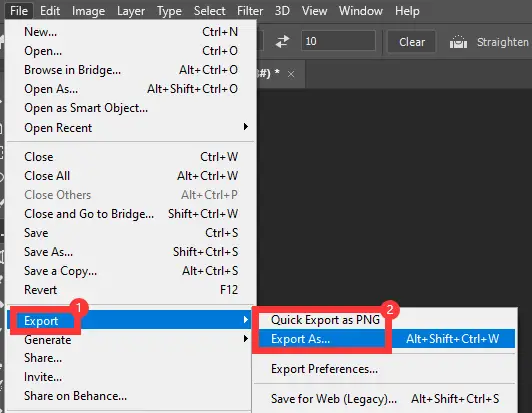
Finally, in the “Export” option under “File” in the upper tab, select “Quick Export to PNG” to quickly export the image in PNG format or “Export to” to specify the format of the exported image to complete the export.
Conclusion
For example, if you want to crop off the excess height of the source image, first set the width of the crop area manually, the height will be automatically generated according to the aspect ratio of the image, and finally, adjust the position of the crop area.