
Introduction
If you do something spectacular on your new Oculus Quest 2 (or original Quest), it’s really simple to capture a screenshot to share with friends. Here’s how to take a screenshot in your virtual reality headset.
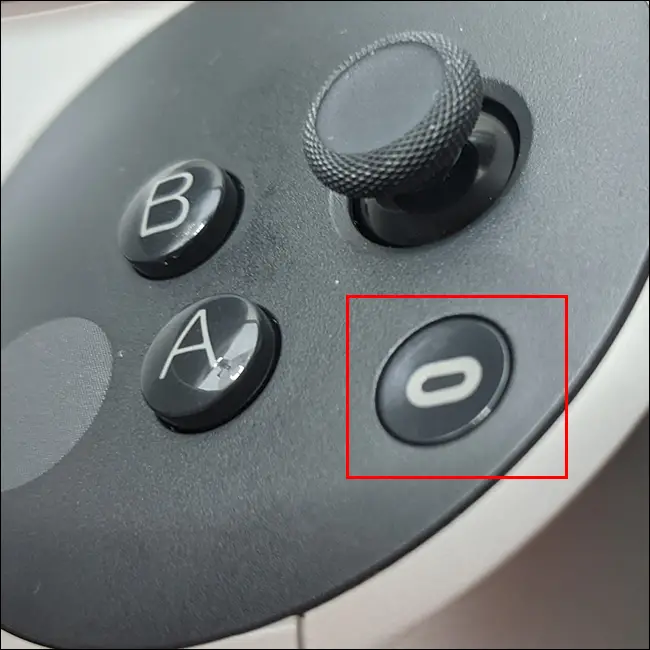
Taking a screenshot on your Oculus Quest 2 is almost as simple as it is on a smartphone. Simply click the trigger on either controller while holding down the Oculus button (which looks like an oval symbol) on the right Quest Touch controller.
After taking the screenshot, you’ll hear a screenshot sound (similar to a camera shutter) that you’ve probably heard on other devices. You’ll also get a notice verifying that the screenshot was taken.
If the first approach does not work for you, there is a second, more difficult method.
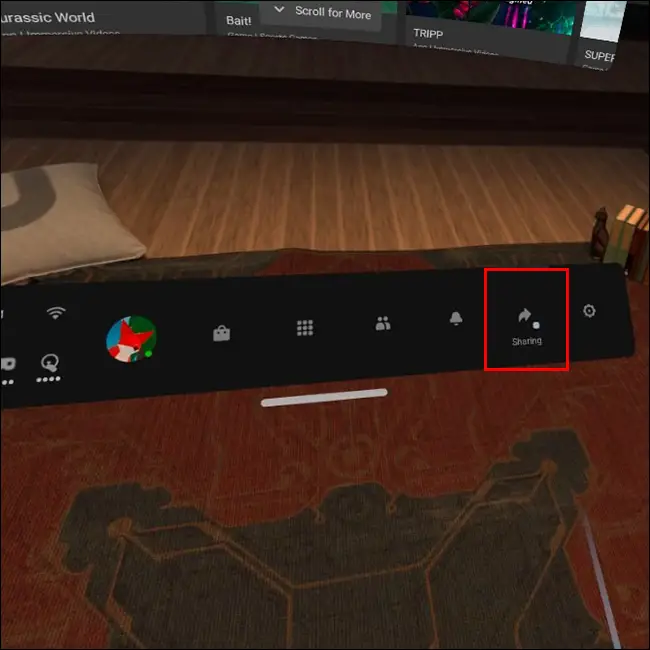
To begin, hit the Oculus button on your right Touch controller to access the system menu. Then, from the bottom taskbar, click the “Sharing” option.
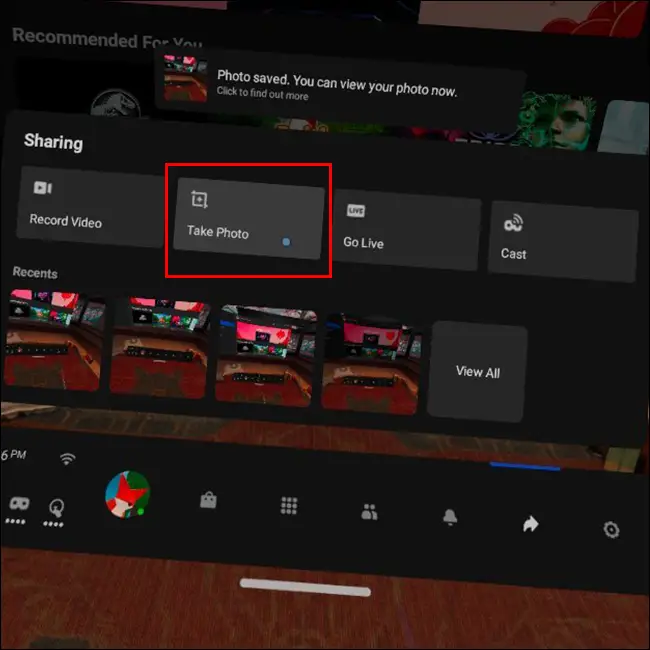
Then, press the “Take Photo” button. A little red dot will emerge and blink for five seconds. When the countdown is complete, a screenshot will be captured.
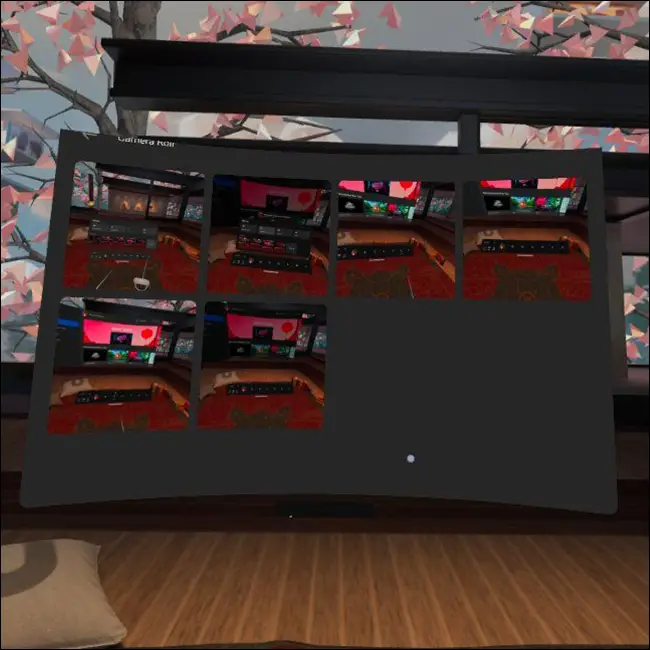
If you’re not sure how to view those screenshots, hit the Oculus button on your controller to bring up the Home menu. To capture a screenshot, go to the “Sharing” page (like we did). Instead of clicking “Take Photo,” choose “View All.”
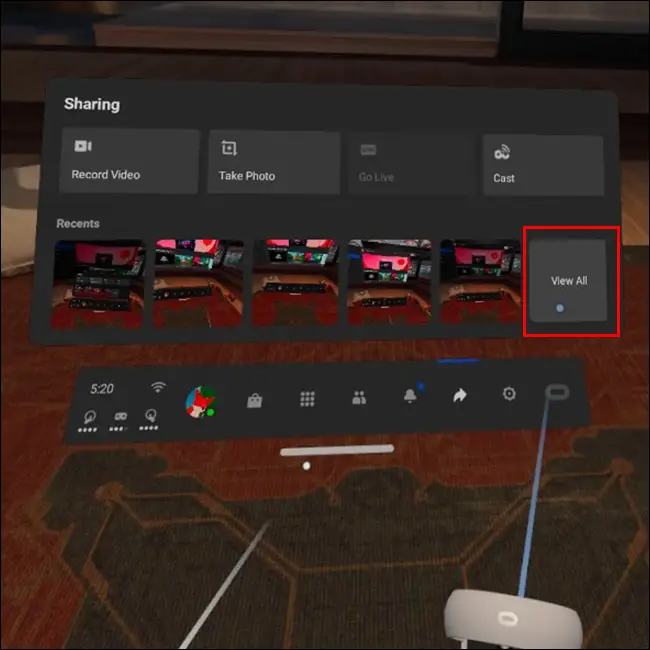
You may examine all of the screenshots you’ve taken from this page.
After selecting a screenshot, you may either delete it or share it with others.