
Introduction
Before an important video meeting, you should always check and ensure that your webcam is operational. Here’s how to accomplish it on Windows 10 and 11, as well as in several popular video-chatting programs like Zoom, Google Meet, and Discord.
How to Use the Camera App to Test Your Webcam
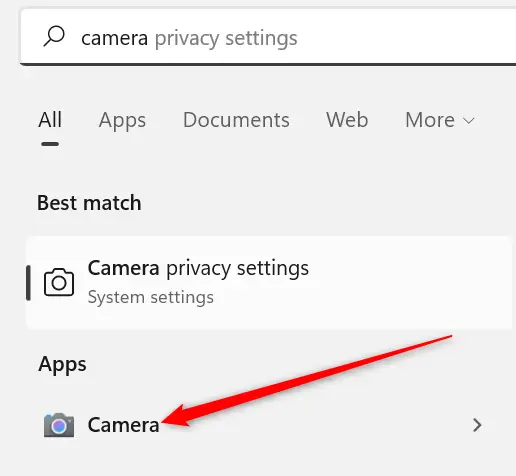
The built-in camera program is the simplest method to test your webcam. Click the Start button, then enter “camera” and choose the Camera app.
If everything is in order, you should be able to watch video from the camera right away.
How to Put Your Webcam to the Test in Popular Apps
The option to test your voice and video is included in the majority of apps and browser-based video chat services. Here are some general guidelines for some of the most popular solutions.
Zoom
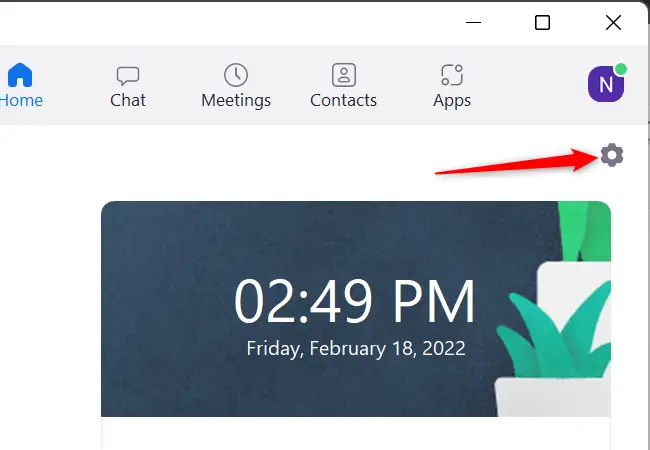
Click the gear icon in the top-right corner of the Zoom window.
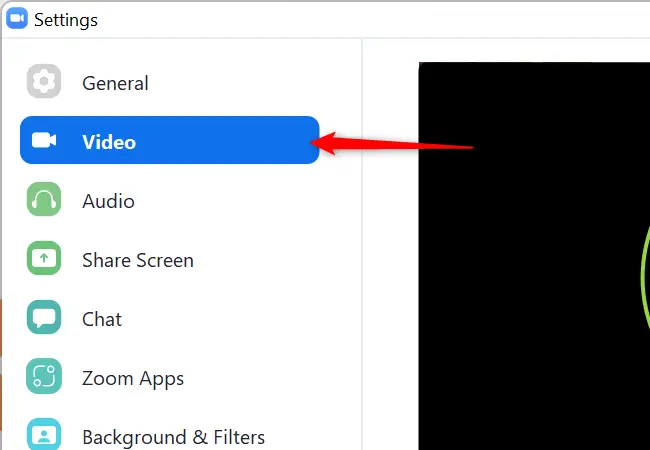
Then, on the left, select “Video.” You should be able to see yourself if your webcam is operating properly.
Google Meet
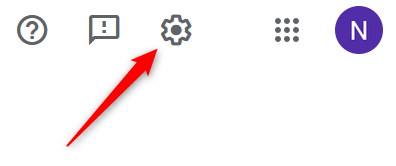
With Google Meet, you can check your camera in two places. The first may be found on the Google Meet home page. Click the gear icon in the upper right corner of the page.
Then, on the left side, select “Video.” If your webcam is operating properly, a little video will appear on the right side of the popup.
Google has included the ability to preview your video immediately on the meeting page. After you’ve joined a meeting, go to the “Check your audio and video” section.
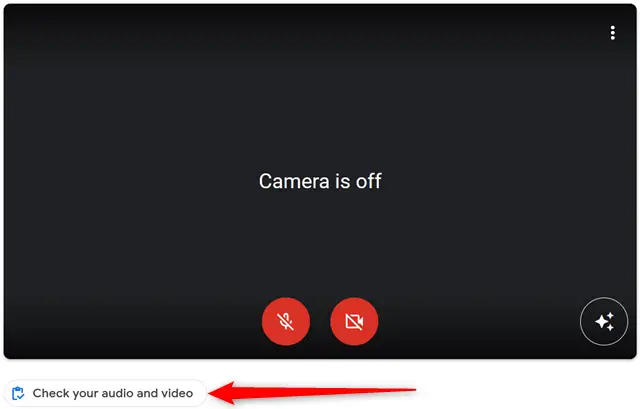
Click the red camera icon if you don’t see yourself.
Slack
In Slack, click on your profile symbol in the top-right corner, then select “Preferences.”
![]()
On the left-hand sidebar, select “Audio & video.”
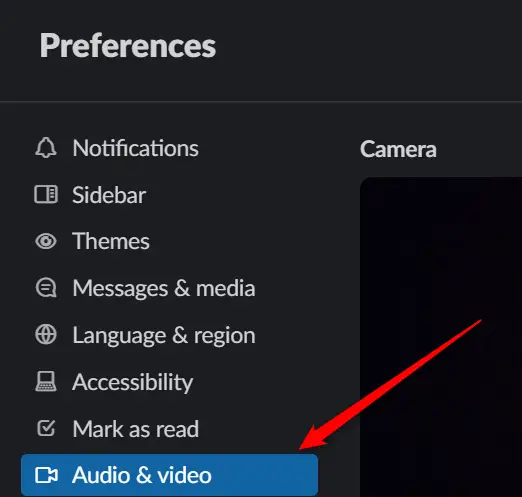
If you don’t see yourself, check sure the video device is configured to the right camera.
Skype
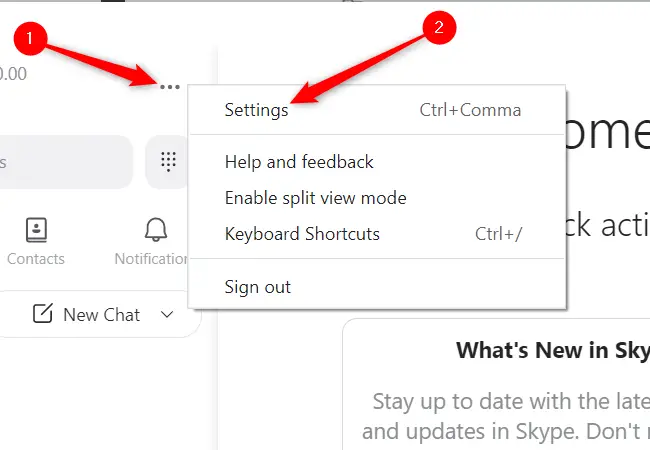
To check your webcam on Skype, click the three dots in the upper-left corner of the main screen, then select “Settings.”
On the left-hand side, under Settings, select “Audio & video.”
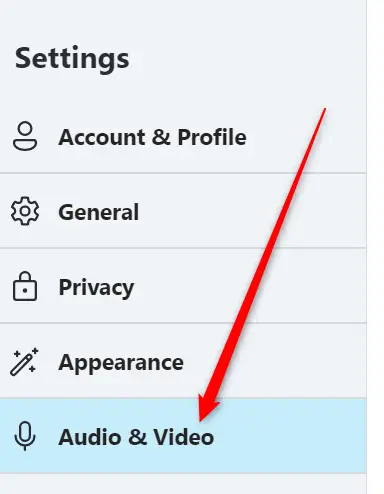
A video feed from the camera should be visible on the right side.
Discord
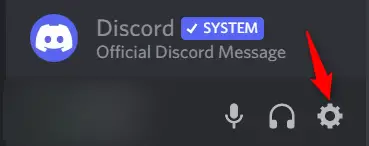
After launching Discord, click the little gear icon in the bottom left-hand corner.
On the left, click “Voice and Video,” then in the centre, click “Test Video.”
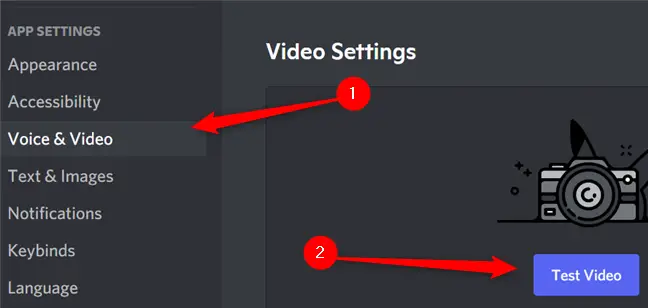
When you click “Test Video,” your image should show.
Troubleshooting Your Webcam
A number of factors might cause your camera to stop operating. Fortunately, the most of them are rather simple to repair.
Examine the Connection
Webcams that plug into a USB port may become loose, or the USB port itself may be defective. Check to ensure that your webcam is securely hooked into a USB port. You could also try changing the port into which the camera is inserted – occasionally the USB port itself is the source of the problem. If your desktop PC has USB connections on the front or top of the chassis, connect to a USB port on the rear of the machine.
Install Webcam Drivers
To function properly, your camera may require specific software from the manufacturer. The simplest approach to locate them is to visit the manufacturer’s website – driver downloads are typically located on the support page.
Examine the Windows Privacy Settings
To help safeguard your privacy and security, Windows restricts software access to your webcam and microphone. Normally, this is great, but it can occasionally cause your webcam to operate in certain apps but not others.
To view your camera privacy settings, click the Start button, type “Camera privacy settings” into the search field, then press Enter.
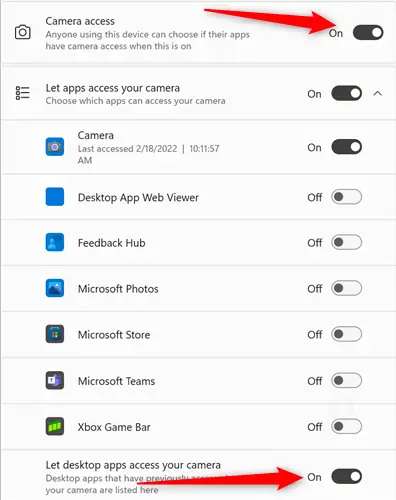
If the switches for “Camera access” and “Let desktop apps access your camera” are turned off, click them. Then, under the list of apps, ensure that the software you’re attempting to use is set to “On.”
Note: Some video calling services, such as Google Meet, are accessible via your browser. If you’re attempting to utilize a web-based service, ensure sure your browser has camera access enabled.
You should double-check your microphone settings while you’re here. In the upper left-hand corner of the window, click the back arrow. Then, scroll down to “Microphone” and click it.
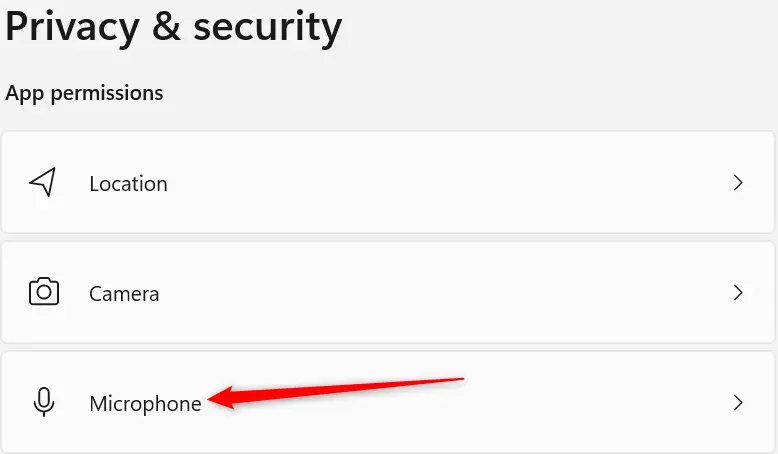
The controls for the microphone are identical to those for the camera. Check that the software you’re attempting to use has access enabled.
Examine Your Browser’s Privacy Settings
In addition, your browser has security protections in place to prevent websites from accessing your microphone and camera without your consent. When a website attempts to access your webcam or microphone, it will usually prompt you. Each browser is somewhat different, although they all appear to be identical to the one seen below.
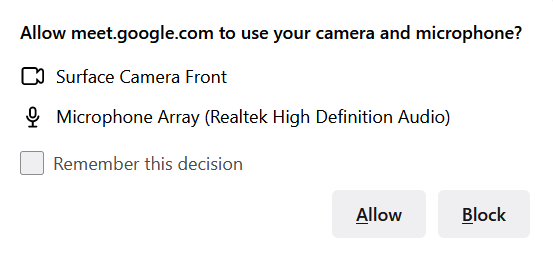
If you don’t see anything like that, check your browser’s privacy settings.
Go to Settings by clicking the three dots or three bars in the upper right corner of your browser. Then search for an option labeled “Privacy.” Most browsers have settings for camera and microphone access.
