
Introduction
There’s no need to buy your games twice if you’ve purchased the Oculus Quest 2 and want to gift your previous Quest VR headset to someone else in your home. Two Oculus Quests headsets can effortlessly share games.
It is now possible thanks to Oculus App Sharing
You may now have several accounts on a Quest and share games purchased by one user with another, thanks to a functionality added to the Quest through an update. However, bear in mind that there are certain restrictions to this.
To begin with, only the principal account on an Oculus Quest headset may share games. Each sub-account retains its own online account and may purchase its own games. They simply can’t share them on that headset with anybody else.
So the main account and sub-accounts may both play games owned by the main account, but each sub-account has its own save games and advancement. If a game supports cloud sync, if a sub-account owner purchases their own headset, their progress will be waiting for them. They will, however, have to purchase their own copy of a certain game.
The last restriction is that game creators must opt-in to enable cross-account sharing. In actuality, most Quest games allow for family sharing; however, certain prominent titles (such as Beat Saber) do not. On the shop page of a game, you can see whether it allows family sharing. Some DLC may also be incompatible with family sharing, however this varies per app.
How to Configure Family Sharing
Setting up family sharing on a headset is straightforward if you follow the steps in the correct sequence. Keep in mind that both headsets need the same main account. You don’t need to alter anything if you’ve set up your new headset with your main account, but if you’ve set up the secondary headset where you wish to share games with someone else’s account first, you’ll need to conduct a factory reset. Once the factory reset is complete, just reinstall that Quest as if it were new, and in in with the primary account whose games you wish to share.
You don’t need to do anything unusual if the second Quest already has the proper account as the main; we’ll just add the sub-accounts to the current headset.
Because the Quest does not allow you to take system screenshots, the photos below were obtained using the Quest’s casting feature. However, due to the poor quality of the stream, these photographs are just for reference.
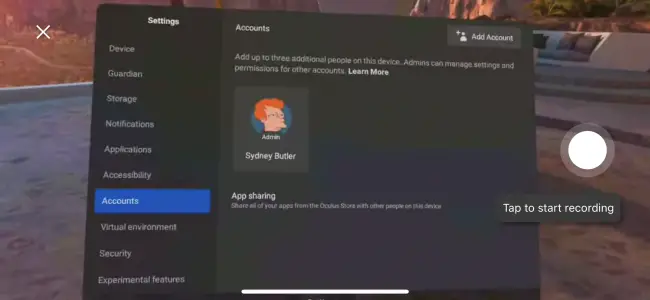
Select “Settings” from the Quick Menu, then “Accounts.”
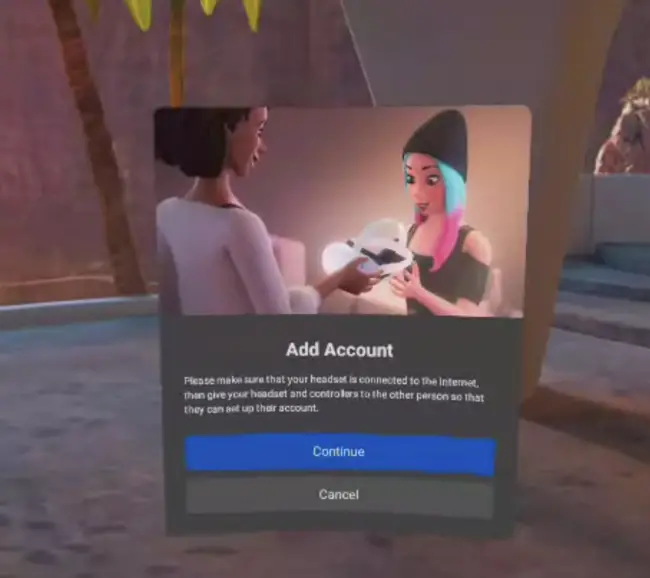
Turn “App Sharing” on, then click “Add Account.” If you forget or don’t want to do it now, you can always turn on App Sharing later. If you don’t have a passcode or security pattern, you’ll be prompted to create one in order to secure the primary account from sub-account holders.
You may now set up the new sub-account or give the headset to the account holder if you like.
The new user must now sign in to both their Facebook and Oculus accounts (if any). If they do not have these accounts, they must choose the new user option. The new user is ready to go after seeing the welcome video.