
Introduction
Windows 11 includes a slew of new transparency effects in its windows, taskbar, and menus. If you don’t like them, translucent interface elements in Windows 11 can be turned off with the flip of a switch. This is how.
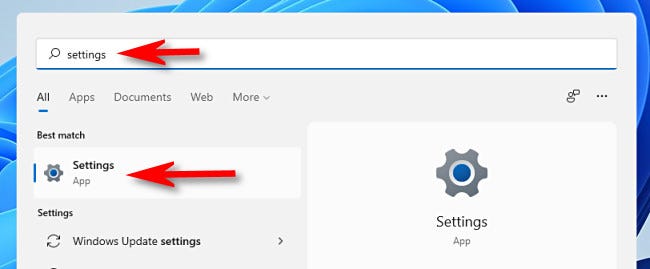
To begin, navigate to Windows Settings by searching for “Settings” in the Start menu and clicking its icon. Alternatively, press Windows+i on the keyboard.
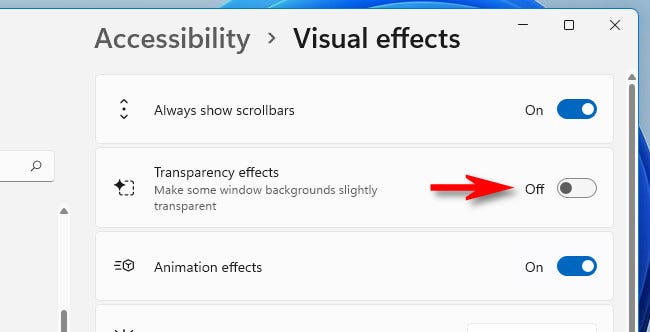
When the Settings window opens, click “Accessibility” in the sidebar, followed by “Visual Effects” on the right-hand side of the Settings window.

Set the switch next to “Transparency Effects” to “Off” in the Visual Effects settings.
Windows 11 will immediately convert all transparent windows to opaque. Because your settings have already been saved, you can safely close the Settings window. Very nice and tidy!
If you ever want to restore transparency, open Settings, go to Accessibility > Visual Effects, and toggle “Transparency Effects” to “On.” In Windows 10, you’ll find the option to disable or enable transparency effects in a slightly different location (Settings > Personalization > Colors). Best wishes!