
Introduction
To change your iPhone’s IP address, you may either ask your router for a new IP address or manually assign one to your phone. We’ll show you two methods for completing the work.
What You Should Know About Changing the IP Address on Your iPhone
Renewing your IP lease is a fast and straightforward method to modify your iPhone’s IP address. This approach essentially makes a request to your network for a new IP address to be assigned to your phone. Keep in mind, though, that depending on how your network works, you may get the same IP address again.
Assigning your iPhone a static IP address is the only guaranteed method to receive the IP address of your choosing. In this way, you define the IP address you want on your phone and then transmit that information to the router when you join to your network.
If another device on the same network occurs to utilize the same IP address as your iPhone in the second way, you may have an IP conflict. To circumvent this, use an IP address that is not in the current IP pool.
For example, if your router normally distributes IP addresses up to 192.168.1.10, try something like 192.168.1.20 to prevent IP conflict. You may entirely eliminate this problem by instructing your router to provide a particular IP address to your phone. Alternatively, see a comprehensive list of devices connected to your router and their IP addresses before selecting your new address.
Renew the Lease on Your iPhone to Get a New IP Address
Renewing the IP lease may seem difficult, but it is as simple as pressing an item in your iPhone’s Settings app.
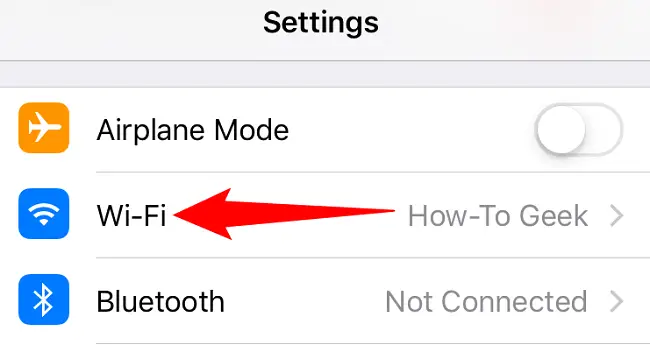
To begin, open the Settings app on your iPhone. Then choose “Wi-Fi” from the menu.
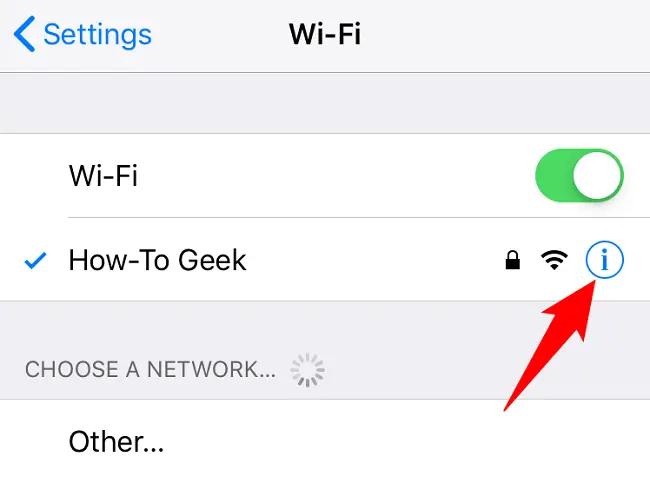
Tap the I symbol next to your wireless network on the “Wi-Fi” screen.
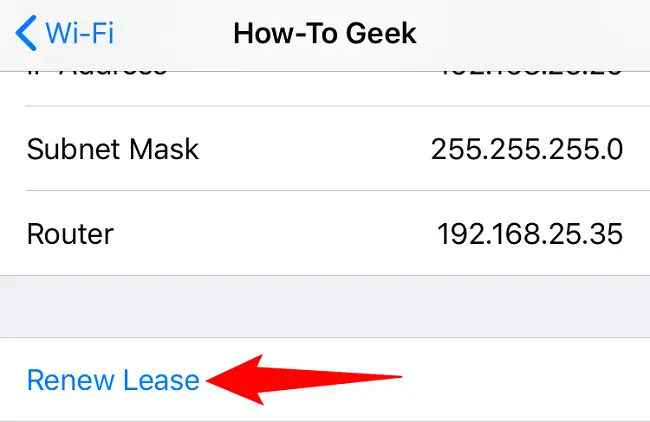
Scroll down the page of your network and choose “Renew Lease.”
In the popup, choose “Renew Lease.”
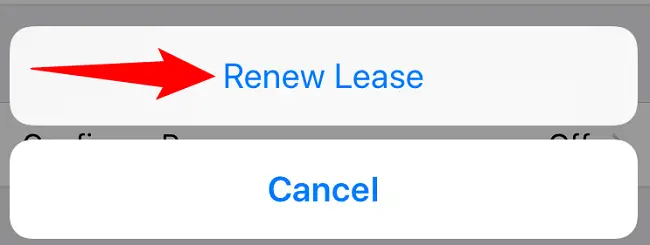
Your iPhone’s IP address may have changed.
If you need to check your iPhone’s MAC address, you can easily access it in your settings.
Configure Your iPhone with a Static IP Address
To assign an IP address to your iPhone, first open the Settings app on your device.
Tap the “Wi-Fi” option in Settings.
Tap the I symbol next to your wireless network on the “Wi-Fi” screen.
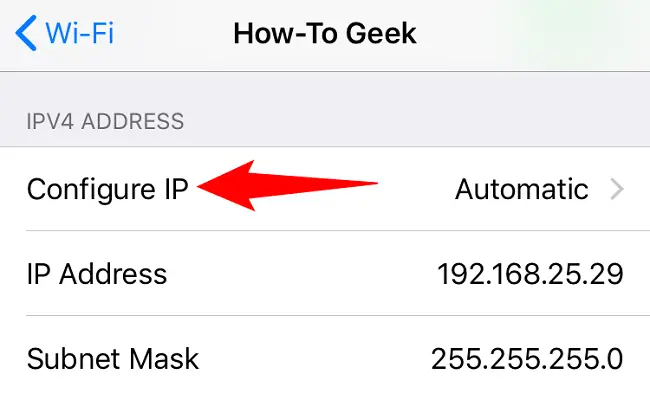
Change the IP mode on your iPhone from automatic to manual by selecting “Configure IP.”
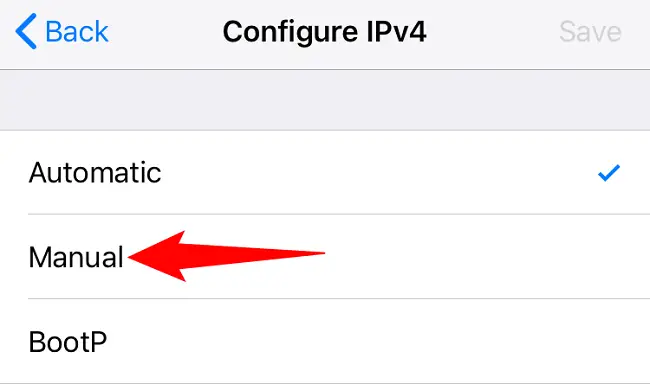
Select the “Manual” option.
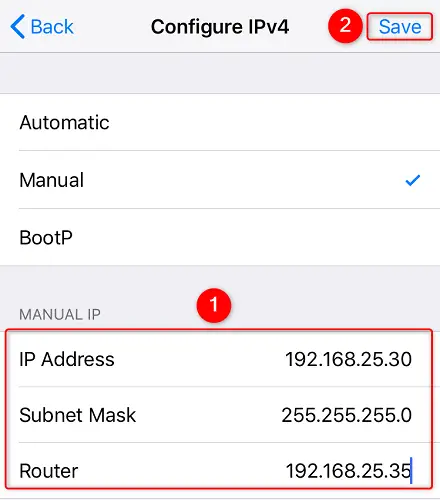
There is now a “Manual IP” area. Tap the “IP Address” box and enter the IP address you want to assign to your iPhone.
Enter the necessary information in the “Subnet Mask” and “Router” boxes. If you’re unsure, go back one screen and you’ll see what information to type.
Then, in the top-right corner, press “Save” to save your changes.
And your iPhone will now have the IP address of your choice. You’re ready to go.