
Introduction
The lock screen in Windows 10 looks great on a tablet, but it only adds another keypress to the login process on a desktop or laptop. With an easy registry hack, you can deactivate the lock screen.
We previously provided steps for deactivating the lock screen, but they required the use of the group policy editor.
After you make this change, Windows will always proceed directly to the password prompt, bypassing the new lock screen.
- Update, 5/20/22: We tried it and found that this registry hack disables the lock screen on both Windows 10 and Windows 11.
- Microsoft disabled these adjustments in Windows 10’s Anniversary Update for a while, but they were re-enabled beginning with the April 2018 Update. It works well on newer versions of Windows 10. It is still functional in Windows 8.
Disable the Lock Screen Immediately
If you do not want to manually modify the registry, we have done it for you.
Simply click here and save the.zip file to your computer:
Download DisableLockScreen.zip
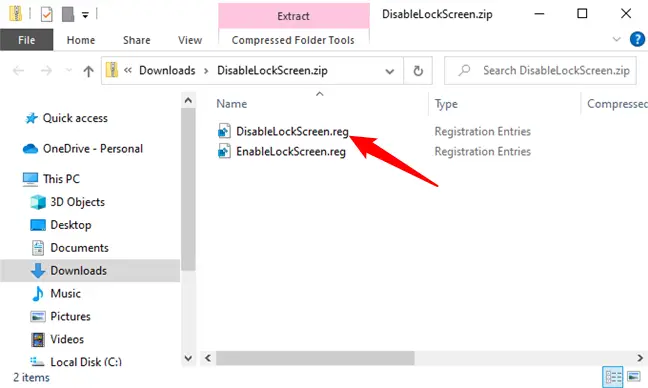
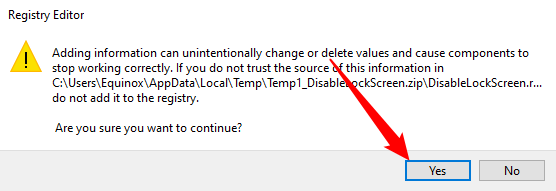
To deactivate the lock screen on your computer, open the downloaded file and double-click the DisableLockScreen.reg file. (If you want to see what a.reg file does before importing it, right-click it and choose Edit.)
You are finished after you have imported the file; you do not even need to restart your computer. If you wish to restore the lock screen, just double-click the EnableLockScreen.reg file.
Changing the Registry by Hand
Caution: As usual, use caution while altering the register. Inadvertently removing or altering registry values might render your computer unstable, if not altogether useless. You should start by learning the fundamentals.
If you want to manually modify the registry, follow the steps below:
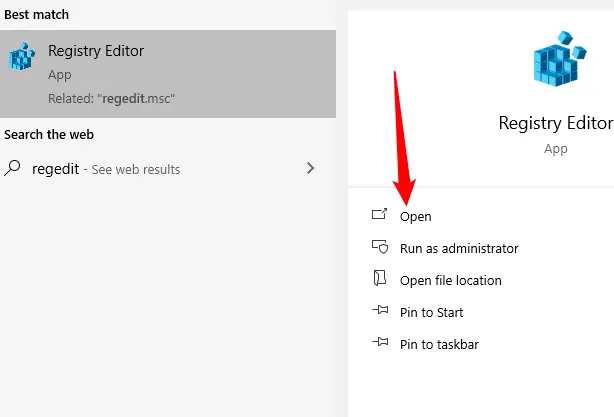
Press the Windows key or open the Start Menu, type “regedit” into the search field, then press Enter to launch the Registry Editor (RegEdit). If you like, you may also click “Open.” Even though the user interface changes, opening RegEdit is the same on Windows 8, Windows 10, and Windows 11.
Locate the following registry key:
HKEY_LOCAL_MACHINE\SOFTWARE\Policies\Microsoft\Windows\Personalization
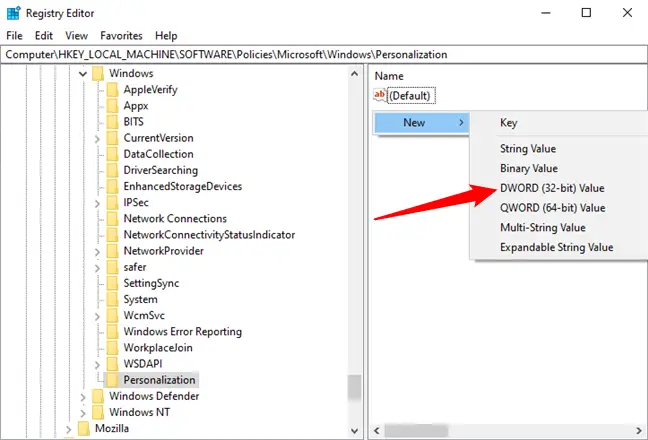
If you don’t see the Personalization button, right-click the Windows button above it and choose New.
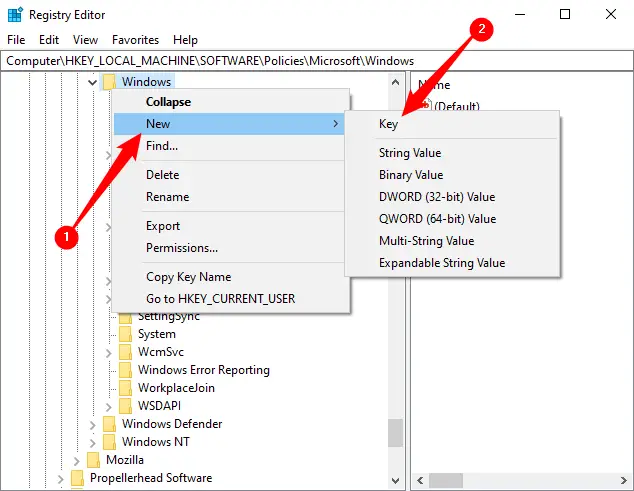
Then, create a key called Personalization.
Create a new DWORD (32-bit) value called NoLockScreen by right-clicking on the right pane or the Personalization key.
Double-click “NoLockScreen,” enter “1,” and then click “OK.”
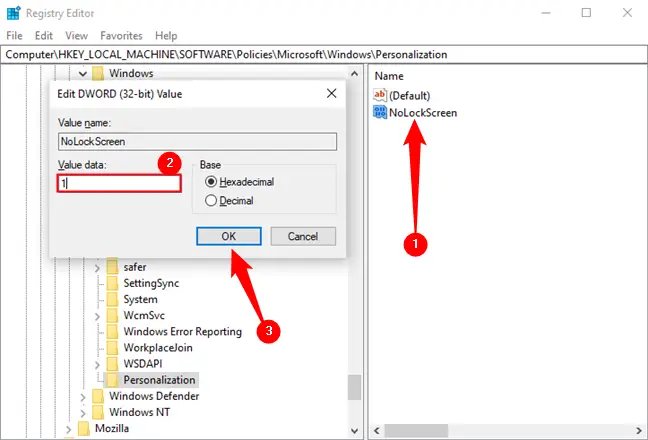
You don’t even need to restart your computer after closing the registry editor.
To allow the lock screen again in the future, simply erase the NoLockScreen registry value or set it to 0.