
Introduction
Microsoft enables users to install Windows 11 via a registry hack, but it isn’t the only method to get around TPM 2.0, Secure Boot, and other required checks. Remove the appraiserres.dll file from the Windows 11 ISO file to bypass these tests and install Windows 11 on any incompatible hardware. That technique needs editing the ISO file to delete the appraiserres.dll file, which is not difficult, but Rufus has provided a simpler alternative.
Continue reading to learn how to eliminate Windows 11 requirements such as TPM 2.0, Secure Boot, and RAM to install Windows 11 on a PC that is otherwise unsupported.
How to make a bootable USB stick for Windows 11 with TPM, Secure Boot, and RAM checks disabled
Step 1: Turn off Secure Boot
We strongly advise you to verify your system for Secure Boot before proceeding with the steps below. If your machine has Secure Boot enabled, you must deactivate it before installing Windows 11 using the technique outlined below. If Secure Boot is enabled during the installation process, Windows 11 will check for TPM 2.0 and fail the installation if it isn’t found.
Secure Boot is normally deactivated through the BIOS menu, and we suggest that you consult your manufacturer’s website for specific instructions. After you’ve deactivated the Windows 11 checks, follow the instructions below to produce a boot DVD with them disabled. Let’s get this party started.
Step 2: Create a bootable USB device for Windows 11 with the TPM and Secure Boot tests disabled
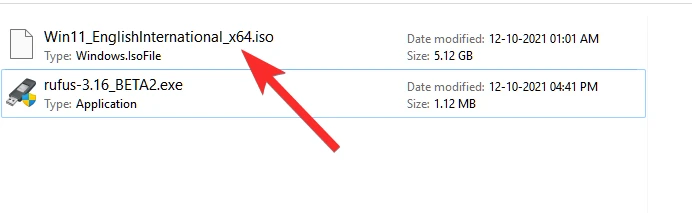
Here‘s where you can get the Windows 11 ISO file from Microsoft.
Connect a USB pen drive to your computer.
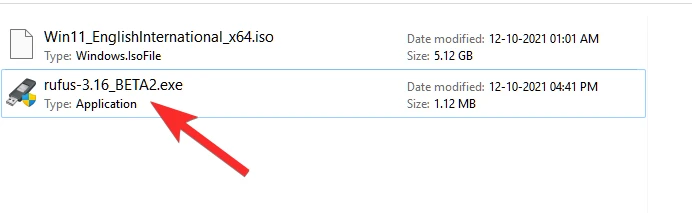
Rufus v3.17 or greater is required for this to operate out of the box. With the release of v3.16 Beta2, Rufus was the first to implement this feature. To get the newest version of Rufus for your computer, click the link below.
- Download: Rufus v3.17 | Download Link | Download Link (Portable)
Rufus may be downloaded at the website provided above. To run Rufus, double-click on the file once it has been saved to your disk. (When it asks for admin access in a pop-up, grant it.)
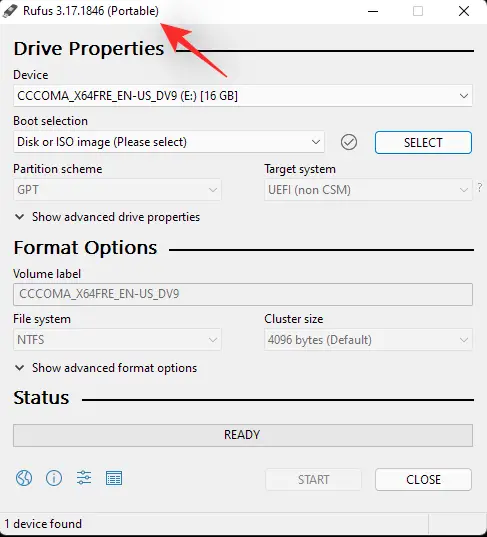
Rufus v3.17 will appear in the title bar.
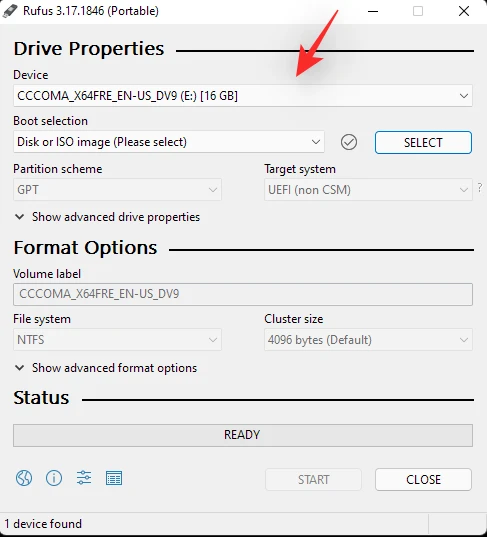
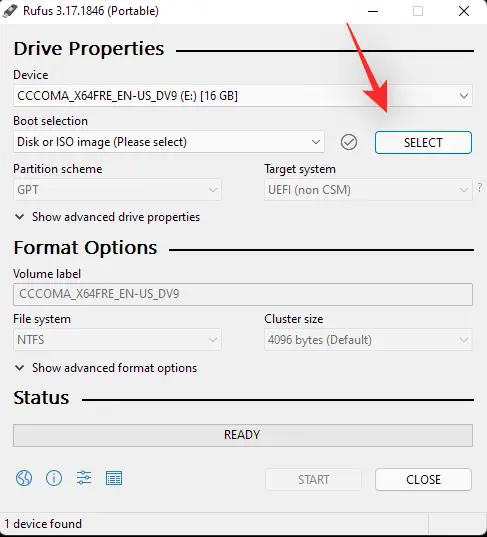
Rufus will immediately recognize your USB device. You may choose your USB device from the first drop-down selection if you have more than one external storage device attached.
To choose the Windows 11 ISO file, click SELECT under Boot selection.
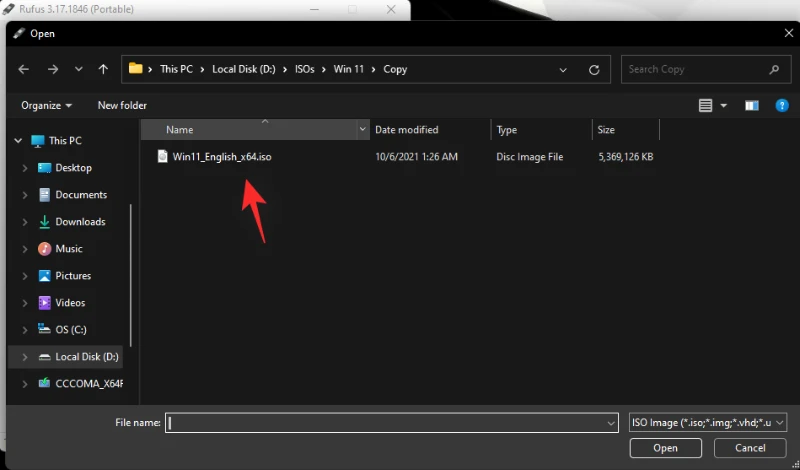
Select the Windows 11 ISO file you downloaded and click Open.
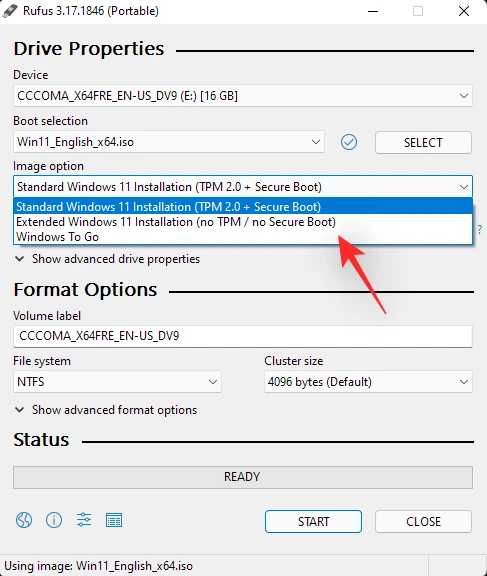
Rufus will automatically customize the remainder of the parameters after the ISO file has been loaded.
Now comes the most crucial and distinctive aspect of this instruction. Select the “Extended Windows 11 Installation (no TPM/no Secure 800t/8G8- RAM)” option from the dropdown beneath the Image selection. Yes, switch from Standard to Extended installation mode.
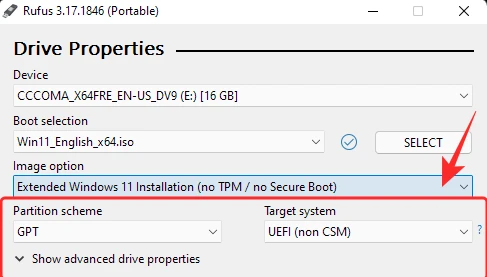
Make sure that the Partition scheme is GPT and that the Target system is UEFI (non-CSM).
[Optional] If you choose, you may change the label of your Pen Drive under “Volume label.”
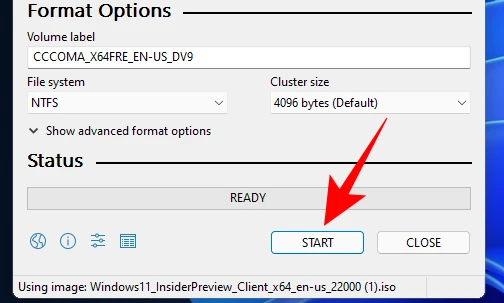
We’re now ready to generate a bootable USB drive with the TPM, Secure Boot, and RAM checks disabled. When you’re ready, press the Start button.
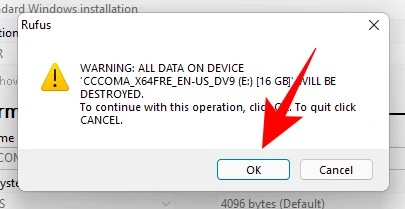
If asked, choose Yes.
It will take some time to complete the procedure. When it’s finished, the “Ready” status message will turn green.
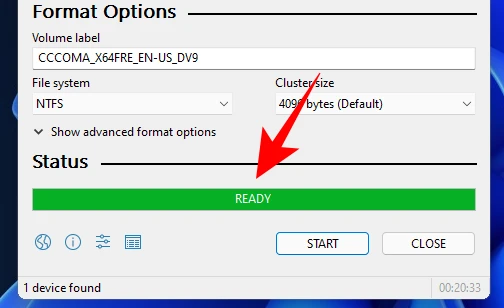
You’ve just made a bootable USB drive for Windows 11.
Step 3: Download and install Windows 11
You must first start your computer in boot mode.
Shut off your computer first. Make sure you’ve saved any work that hasn’t been saved yet. Then restart the PC in boot mode by turning it back on and pressing F8 at the splash screen.
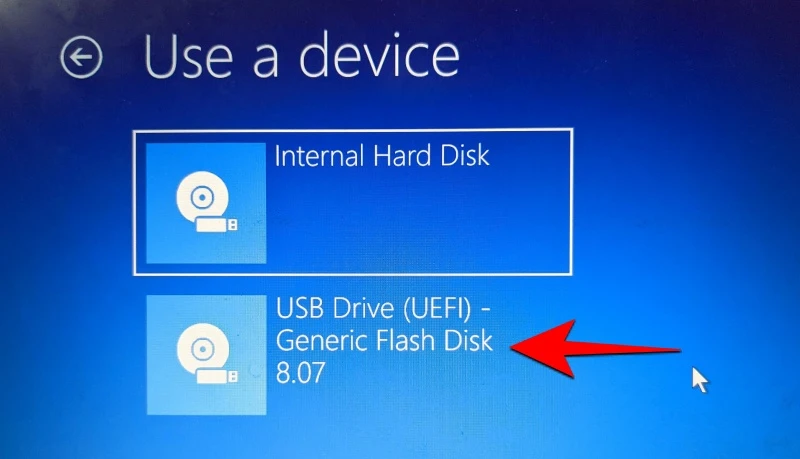
Click Use a device once you’re in Boot mode.
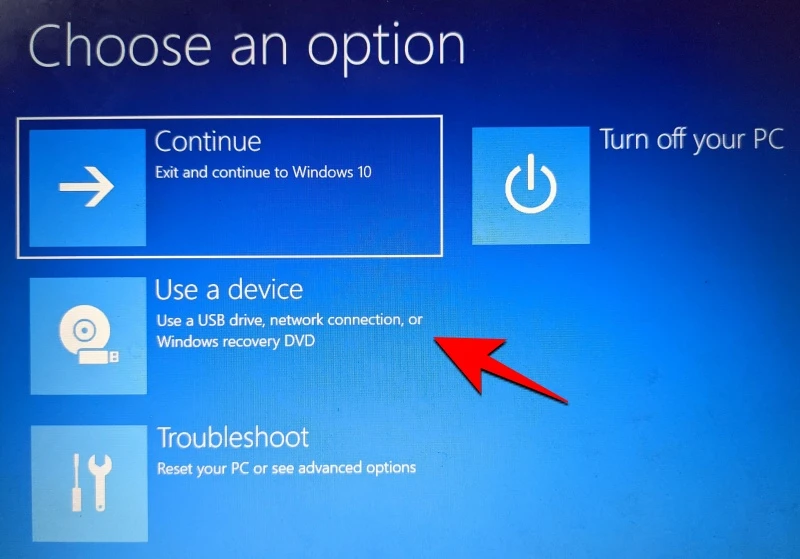
After that, choose your USB drive.
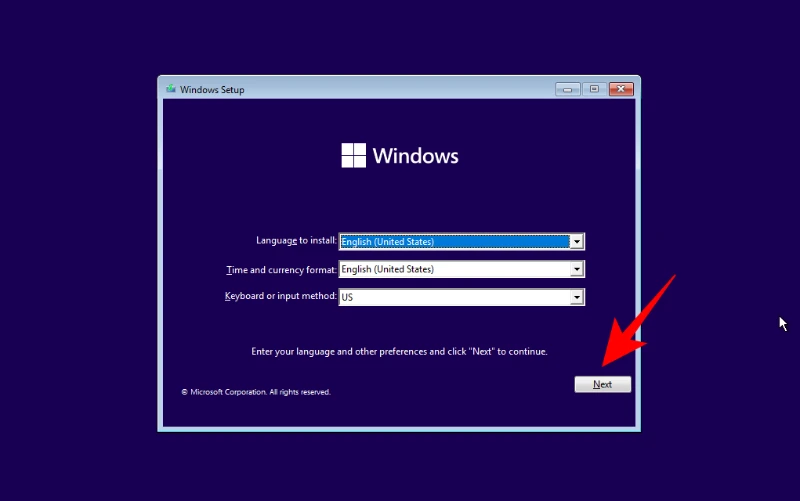
The installation of Windows 11 should begin. To continue, click Next.
Now choose Install. Please enter your product key here. If you don’t have one, scroll down to the bottom and choose I don’t have a product key.
Select the Windows version you wish to install and then click Next. Accept the terms and conditions and go on to the next step.
Again, you have the option of upgrading or starting again. The decision is yours, but we’ll go with the Custom: Install Windows alone option since we want a clean installation.
Click Next after selecting your partition.
This is where the new out-of-the-box setup experience will be found. Click Yes after selecting your nation.
Select an input method and select Yes.
For the first time, Windows now allows you to name your computer during the installation process. Click Next after entering a name.
Click Next once you’ve linked your Microsoft account.
As a result, follow all of the on-screen directions until you reach the end of the installation procedure. At the bottom, you’ll see the remaining stages and percentage marks.
Your computer will restart when the procedure is completed, and Windows 11 will be installed.