
Introduction
When you require a wireless internet connection on your Windows 11 computer, you should definitely connect to Wi-Fi. Here are two approaches, as well as how to troubleshoot when things go wrong.
First, some fundamentals
If you want to connect to a Wi-Fi network with Windows 11, you’ll need to learn a few essentials first, which we won’t go over in depth here. Obviously, your gadget must support Wi-Fi, which means it must have a Wi-Fi network adapter built into it or connected to it.
Also, if your device has a physical Wi-Fi switch or button that switches Wi-Fi on or off, ensure that it is turned on. To determine if your equipment has such a switch, examine the device’s manual.
How to Use Quick Settings to Connect to Wi-Fi
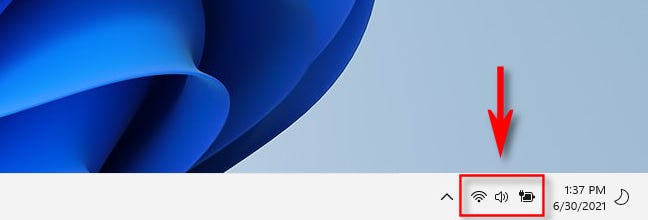
The Quick Settings menu is the quickest method to connect to Wi-Fi in Windows 11. To begin, go to the far right corner of the Windows taskbar and select the Quick Settings icon. It’s a button that’s concealed behind the Wi-Fi and sound volume icons.
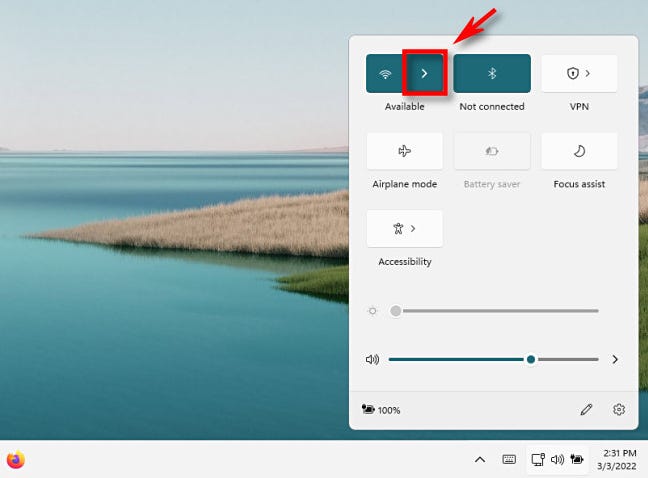
The Quick Settings menu will be shown. To begin, ensure that Wi-Fi is turned on by clicking the left part of the Wi-Fi button, which has radiating waves on it. Wi-Fi is activated when it is illuminated (rather than grey). Then, on the right side of the Wi-Fi button, click the arrow.
You’ll see a list of Wi-Fi networks that are available. Select the one to which you want to connect.
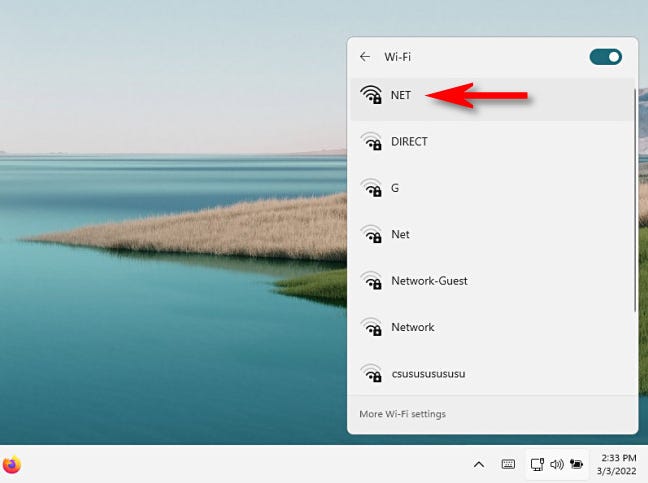
The network entry will enlarge, and a “Connect” button will appear. Put a tick in the box next to “Connect Automatically” if you want Windows to connect to this network automatically in the future. After you’ve made your decision, click “Connect.”

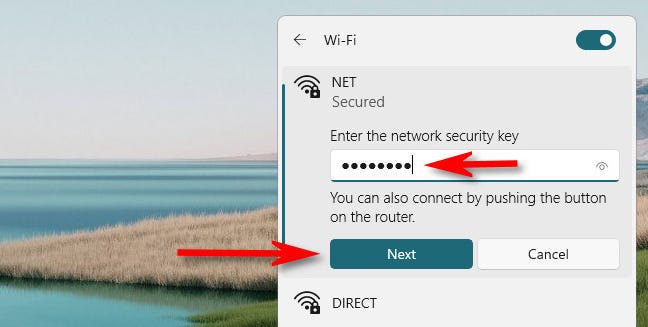
If the Wi-Fi access point is password-protected, a text box labeled “Enter the network security key” will appear. Enter the password for your Wi-Fi network in the box and click “Next.”
As Windows joins to the Wi-Fi network, you’ll receive a “Verifying and Connecting” notice. When you’re connected, you’ll see the message “Connected.” Close the Quick Settings menu by clicking outside it, and you’re ready to utilize the network.
How to Use the Settings App to Connect to Wi-Fi
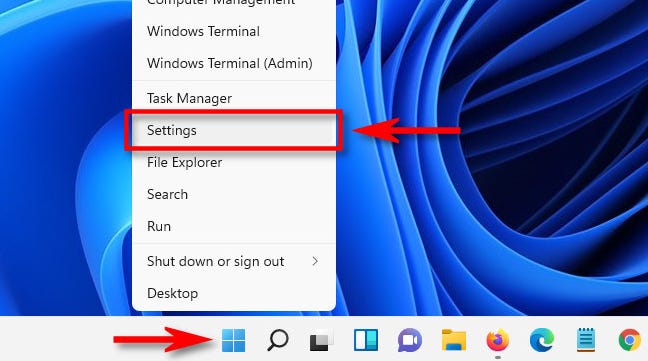
If you’d rather connect to Wi-Fi using the Settings app in Windows 11, start by hitting Windows+i on your keyboard. Alternatively, you may right-click the Start button and choose “Settings.”
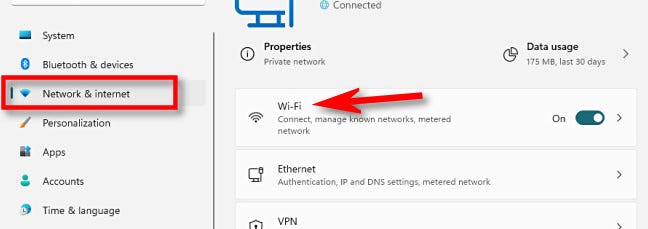
When the Settings app opens, go to the sidebar and pick “Network & Internet,” then “Wi-Fi.”
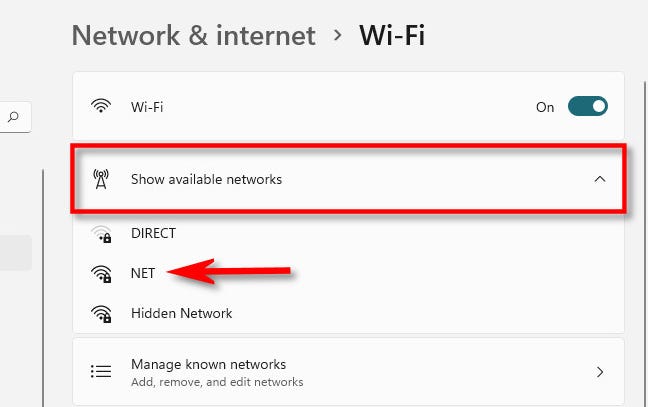
Toggle the switch next to “Wi-Fi” to “On.” Next, click to expand the “Show Available Networks” section, then choose the name of the network you want to connect to from the list.
After selecting the Wi-Fi network name, input the security key (password), if necessary, and then click “Next.”
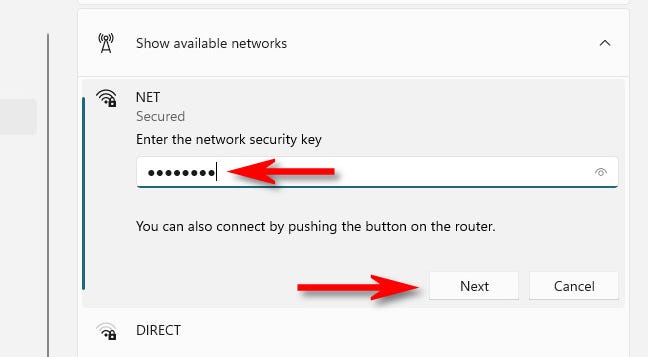
If you typed in the right password, you’ll be able to login to the network. To disconnect later, click the “Disconnect” button in the list directly below the network’s name.
Wi-Fi Connection Troubleshooting
If you’re experiencing problems connecting to a Wi-Fi network on Windows 11, there are a number of steps you can take to troubleshoot (and we’ve written about them in depth elsewhere). But first, there are a few obvious things to check.
- Check Your Password: If you are unable to connect, ensure that you are using the correct network security key (password). Check for mistakes twice and three times, retyping if required.
- Check that the Wi-Fi hardware is turned on:Some gadgets, as previously indicated, include hardware switches or buttons that deactivate Wi-Fi network adapters. Check the documentation for your device to determine whether your network hardware is correctly switched on.
- Check to see whether the connection necessitates the use of a Wi-Fi login page:Whether you’re attempting to connect to a public Wi-Fi access point (such as one in a hotel, coffee shop, or aircraft) and the internet isn’t functioning, try connecting to the Wi-Fi network first, then open a browser and check if you need to log in to a particular site before the internet works.
If you’re still having problems, restart your Windows 11 device, and if you have authority over the Wi-Fi router, restart it as well. Best wishes!