
Introduction
The screen on your Windows 10 PC might flicker for a number of reasons. If you’re not sure what’s causing the issue, try troubleshooting and fixing it using these typical remedies, whether you’re using a laptop or a desktop.
Reposition a Loose Monitor Cable
Monitor cables might become loose if they are not correctly installed the first time. Your screen may flicker as a result of these unsecured wires. They may even loosen over time if they were not properly plugged in.
To test for this issue, disconnect your display’s cable and firmly re-plug it in from both the back of the monitor and the PC. Check that the cable is completely fastened and does not seem or feel loose.
This is true for all cable types, which might become loose for a variety of reasons. You don’t have to know what kind of cable you’re using to use this procedure.
Change Your Monitor Cable
Monitor flickering is often caused by poor-quality display connections.
If you notice that the cable is broken, or if you only have a cheap one, replace it with a high-quality cable and connect it to your display. By high quality, we mean a cable that is either made by the manufacturer of your monitor or made by a reputable third-party manufacturer (Most sites, like Amazon, display reviews for each product.).
If you’re not sure which cable type you require (whether HDMI, DisplayPort, or DVI), see our HDMI vs. DisplayPort vs. DVI guide, which can assist you in determining your cable type. Then, go to a site like Amazon and search for the sort of cable you have (for example, an HDMI cable), and you’ll be presented with a plethora of alternatives.
The cable types that your monitor supports are also listed in the instructions. Most monitors allow several cable types, which means that if your current connection is an HDMI cable, your next one may be a DisplayPort cable. They all function in the same way.
Just make sure your PC supports the cable type you’re obtaining for your monitor (the cable type name should be shown under each port on the back of your PC).
This will resolve all of your cable-related difficulties, including screen flickering (That is, if the issue was caused by the cable.).
Uninstall Dangerous Apps
Apps might also cause the screen on your Windows 10 PC to flicker. In the past, for example, certain Norton products caused screen flickering on Windows 10 PCs.
Unless you know which app is causing the problem (in which case, delete that app following the instructions indicated below), you must first identify the problematic program. One method is to determine when your screen began to flicker.
If your problem began after you installed a certain program, that app might be to blame. In this instance, visit the app’s official website to see whether a newer version is available. If there is, install it and your problem should be resolved.
If a newer version is not available, you should uninstall the program for the time being. You may have to use an other app until the app developer resolves the problem.
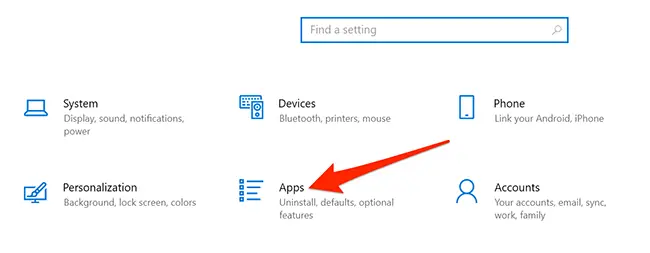
To begin deleting the malfunctioning software, click Windows+i to access “Settings.”
In the Settings panel, choose “Apps.”
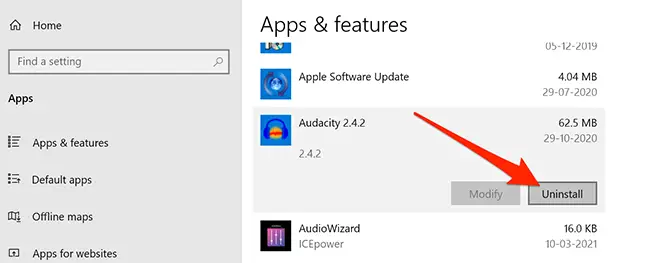
Scroll down the right pane until you discover the malfunctioning app. Select “Uninstall” from the app’s menu.
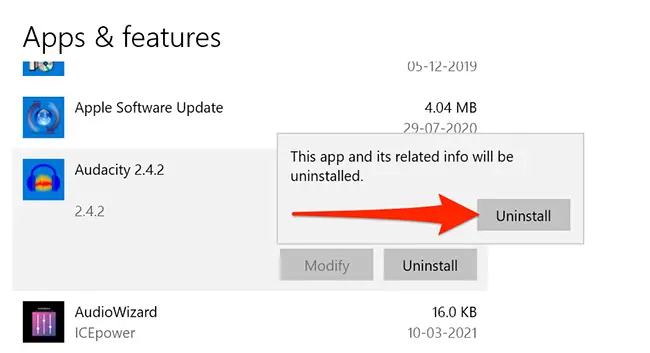
To remove the program, click “Uninstall” on the popup.
Restart your computer to check whether the issue has been resolved. If the problem continues, check the further remedies listed below.
Install the Display Drivers again
According to Microsoft, display drivers are often to blame for screen flickering. Reinstalling your display drivers is a simple solution.
Simply uninstall the drivers from your computer, and Windows updates will reinstall them for you.
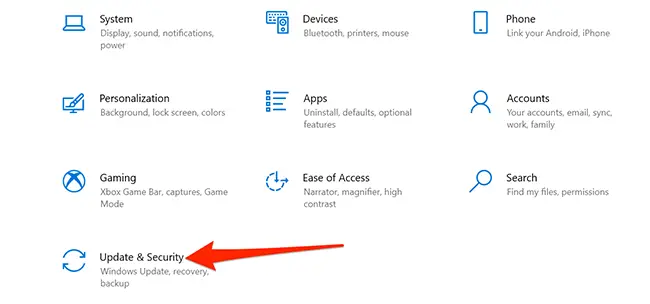
Microsoft suggests starting your computer in Safe Mode to reinstall your drivers. Open “Settings” by pressing Windows+i and then tapping “Update & Security” in the Settings app.
In the Settings box, in the left-hand sidebar, choose “Recovery.” Locate Advanced startup on the right and click the “Restart immediately” button underneath it.

A blue screen will show with a few alternatives. On these displays, choose Troubleshoot > Advanced options > Startup Settings > Restart.
To enter Safe Mode, press the “4” key on your keyboard. When you see the phrase “safe mode” printed on your desktop, you’re in Safe Mode.
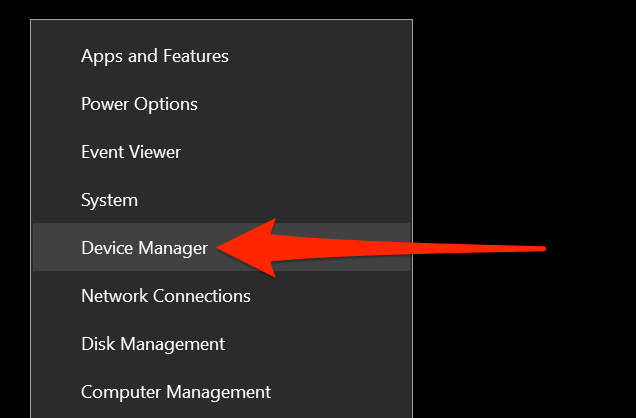
Right-click the “Start” menu button in Safe Mode and choose “Device Manager.”
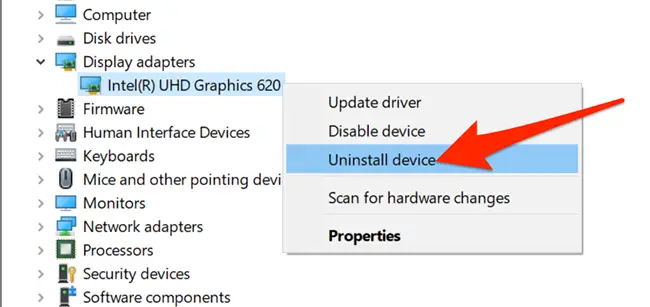
Click the arrow next to “Display adapters” in the Device Manager window. Right-click the adapter that appears in this enlarged menu and choose “Uninstall device.”
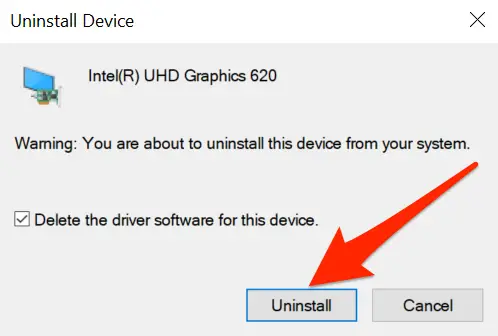
Enable the “Delete the driver software for this device” option in the Uninstall Device box. Then, choose “Uninstall.”
Restart your computer.
Open the “Settings” app and go to Update & Security > Windows Update. Check for updates to install any updates that are available.
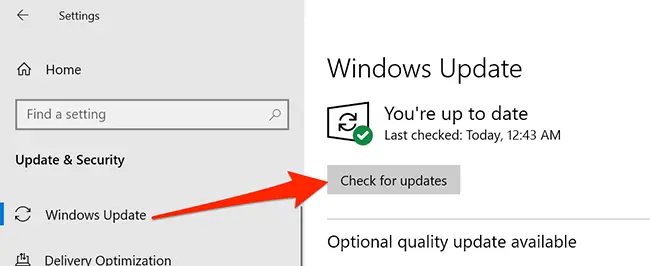
Your display drivers will be reinstalled by Windows.
Change the monitor’s refresh rate
The refresh rate of your monitor influences how often the material on your screen is updated. It’s possible that a higher refresh rate was chosen, and your display is having difficulty updating the material at that pace.
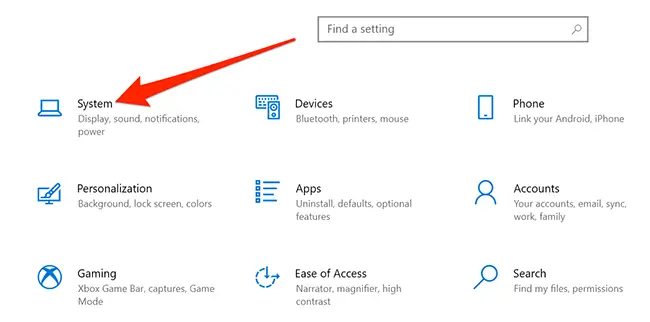
Open “Settings” by pressing Windows+i, then select “System” in the Settings box to modify the refresh rate.
In the left-hand sidebar, choose “Display.” Scroll down the right pane and pick “Advanced display settings” under Multiple displays.

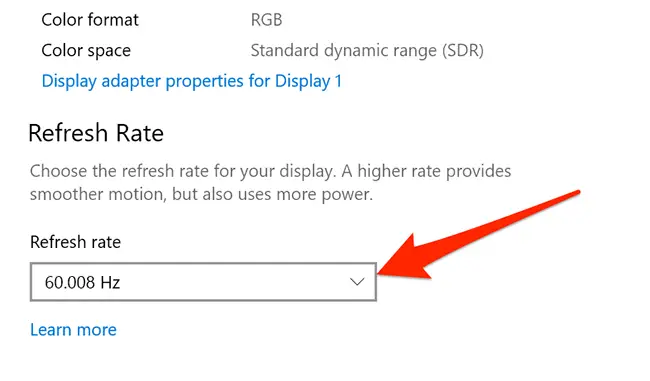
To change the refresh rate, locate the “Refresh rate” drop-down menu and click it. Try using a lower pace than the present one to see if it keeps your screen from flickering.
If none of these measures, including buying a better cable, resolve your issue, you may be dealing with a hardware problem with your display. If your monitor is still under warranty, you should contact the monitor manufacturer for help. A hardware breakdown in your display might be the source of the issue.
In situations like these, it’s usually a good idea to seek expert assistance. A specialist may be able to diagnose the issue, and seeking assistance may be less costly than purchasing a new display—depending on how expensive your monitor is.